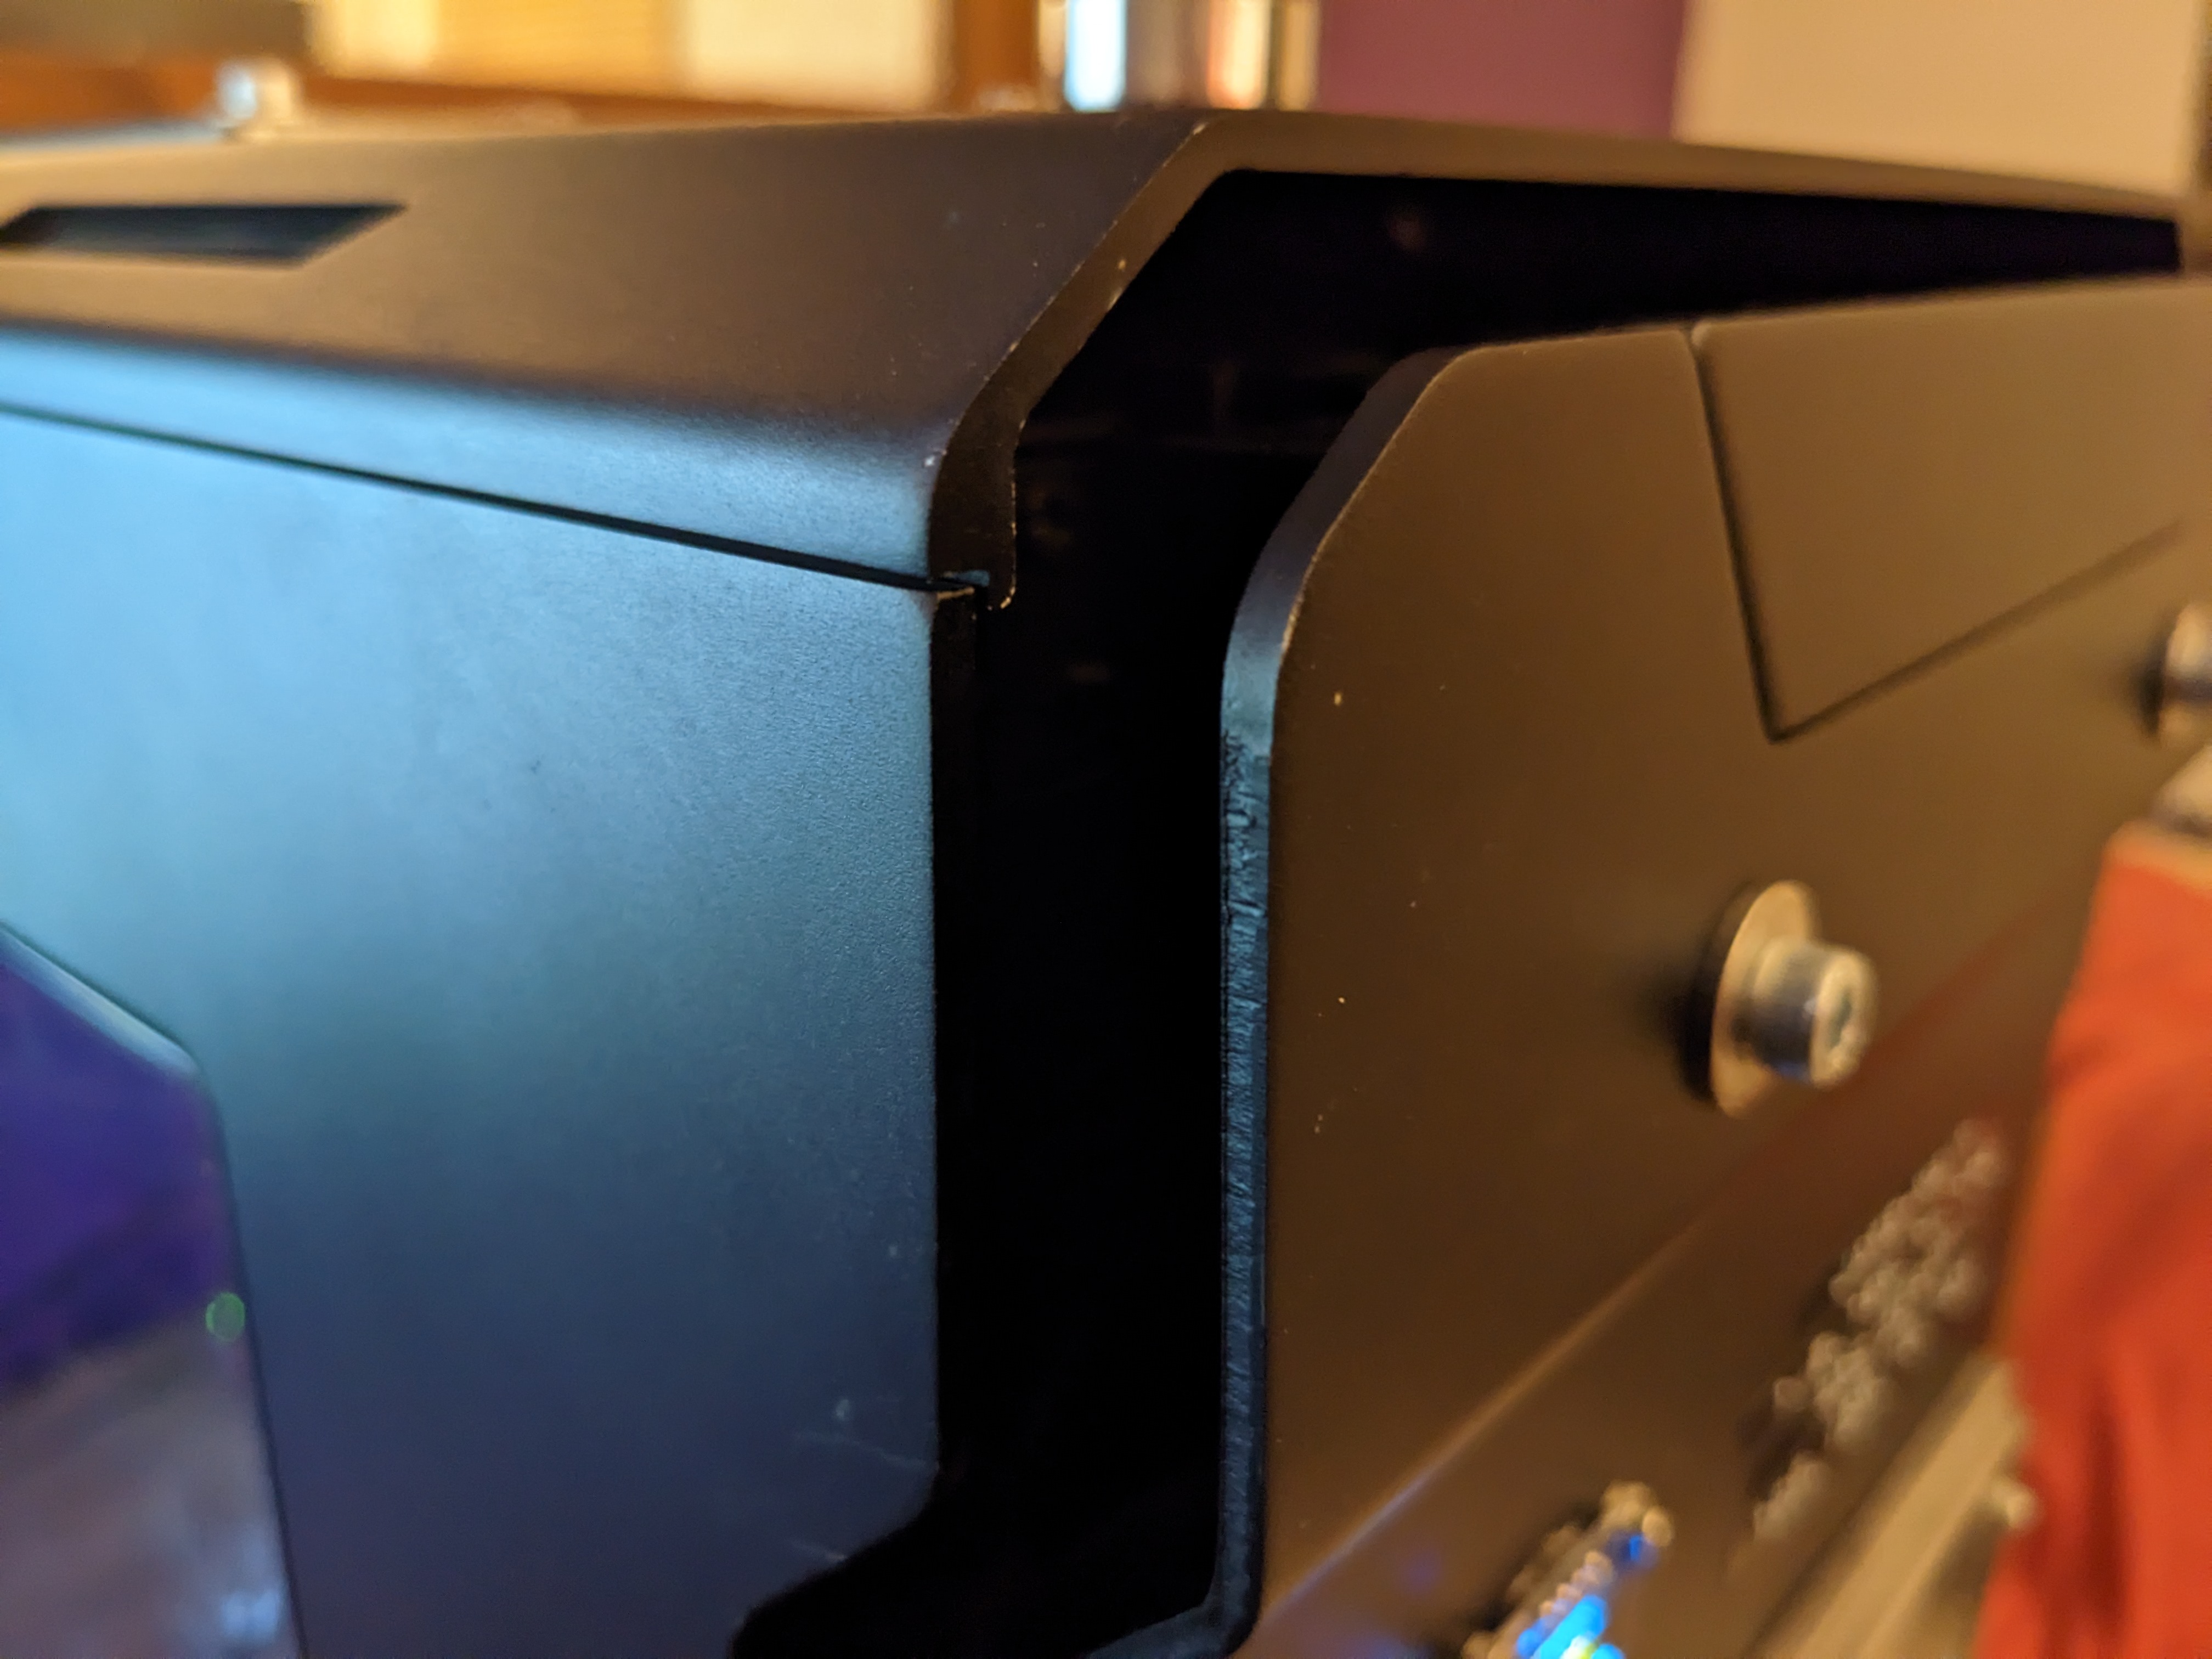
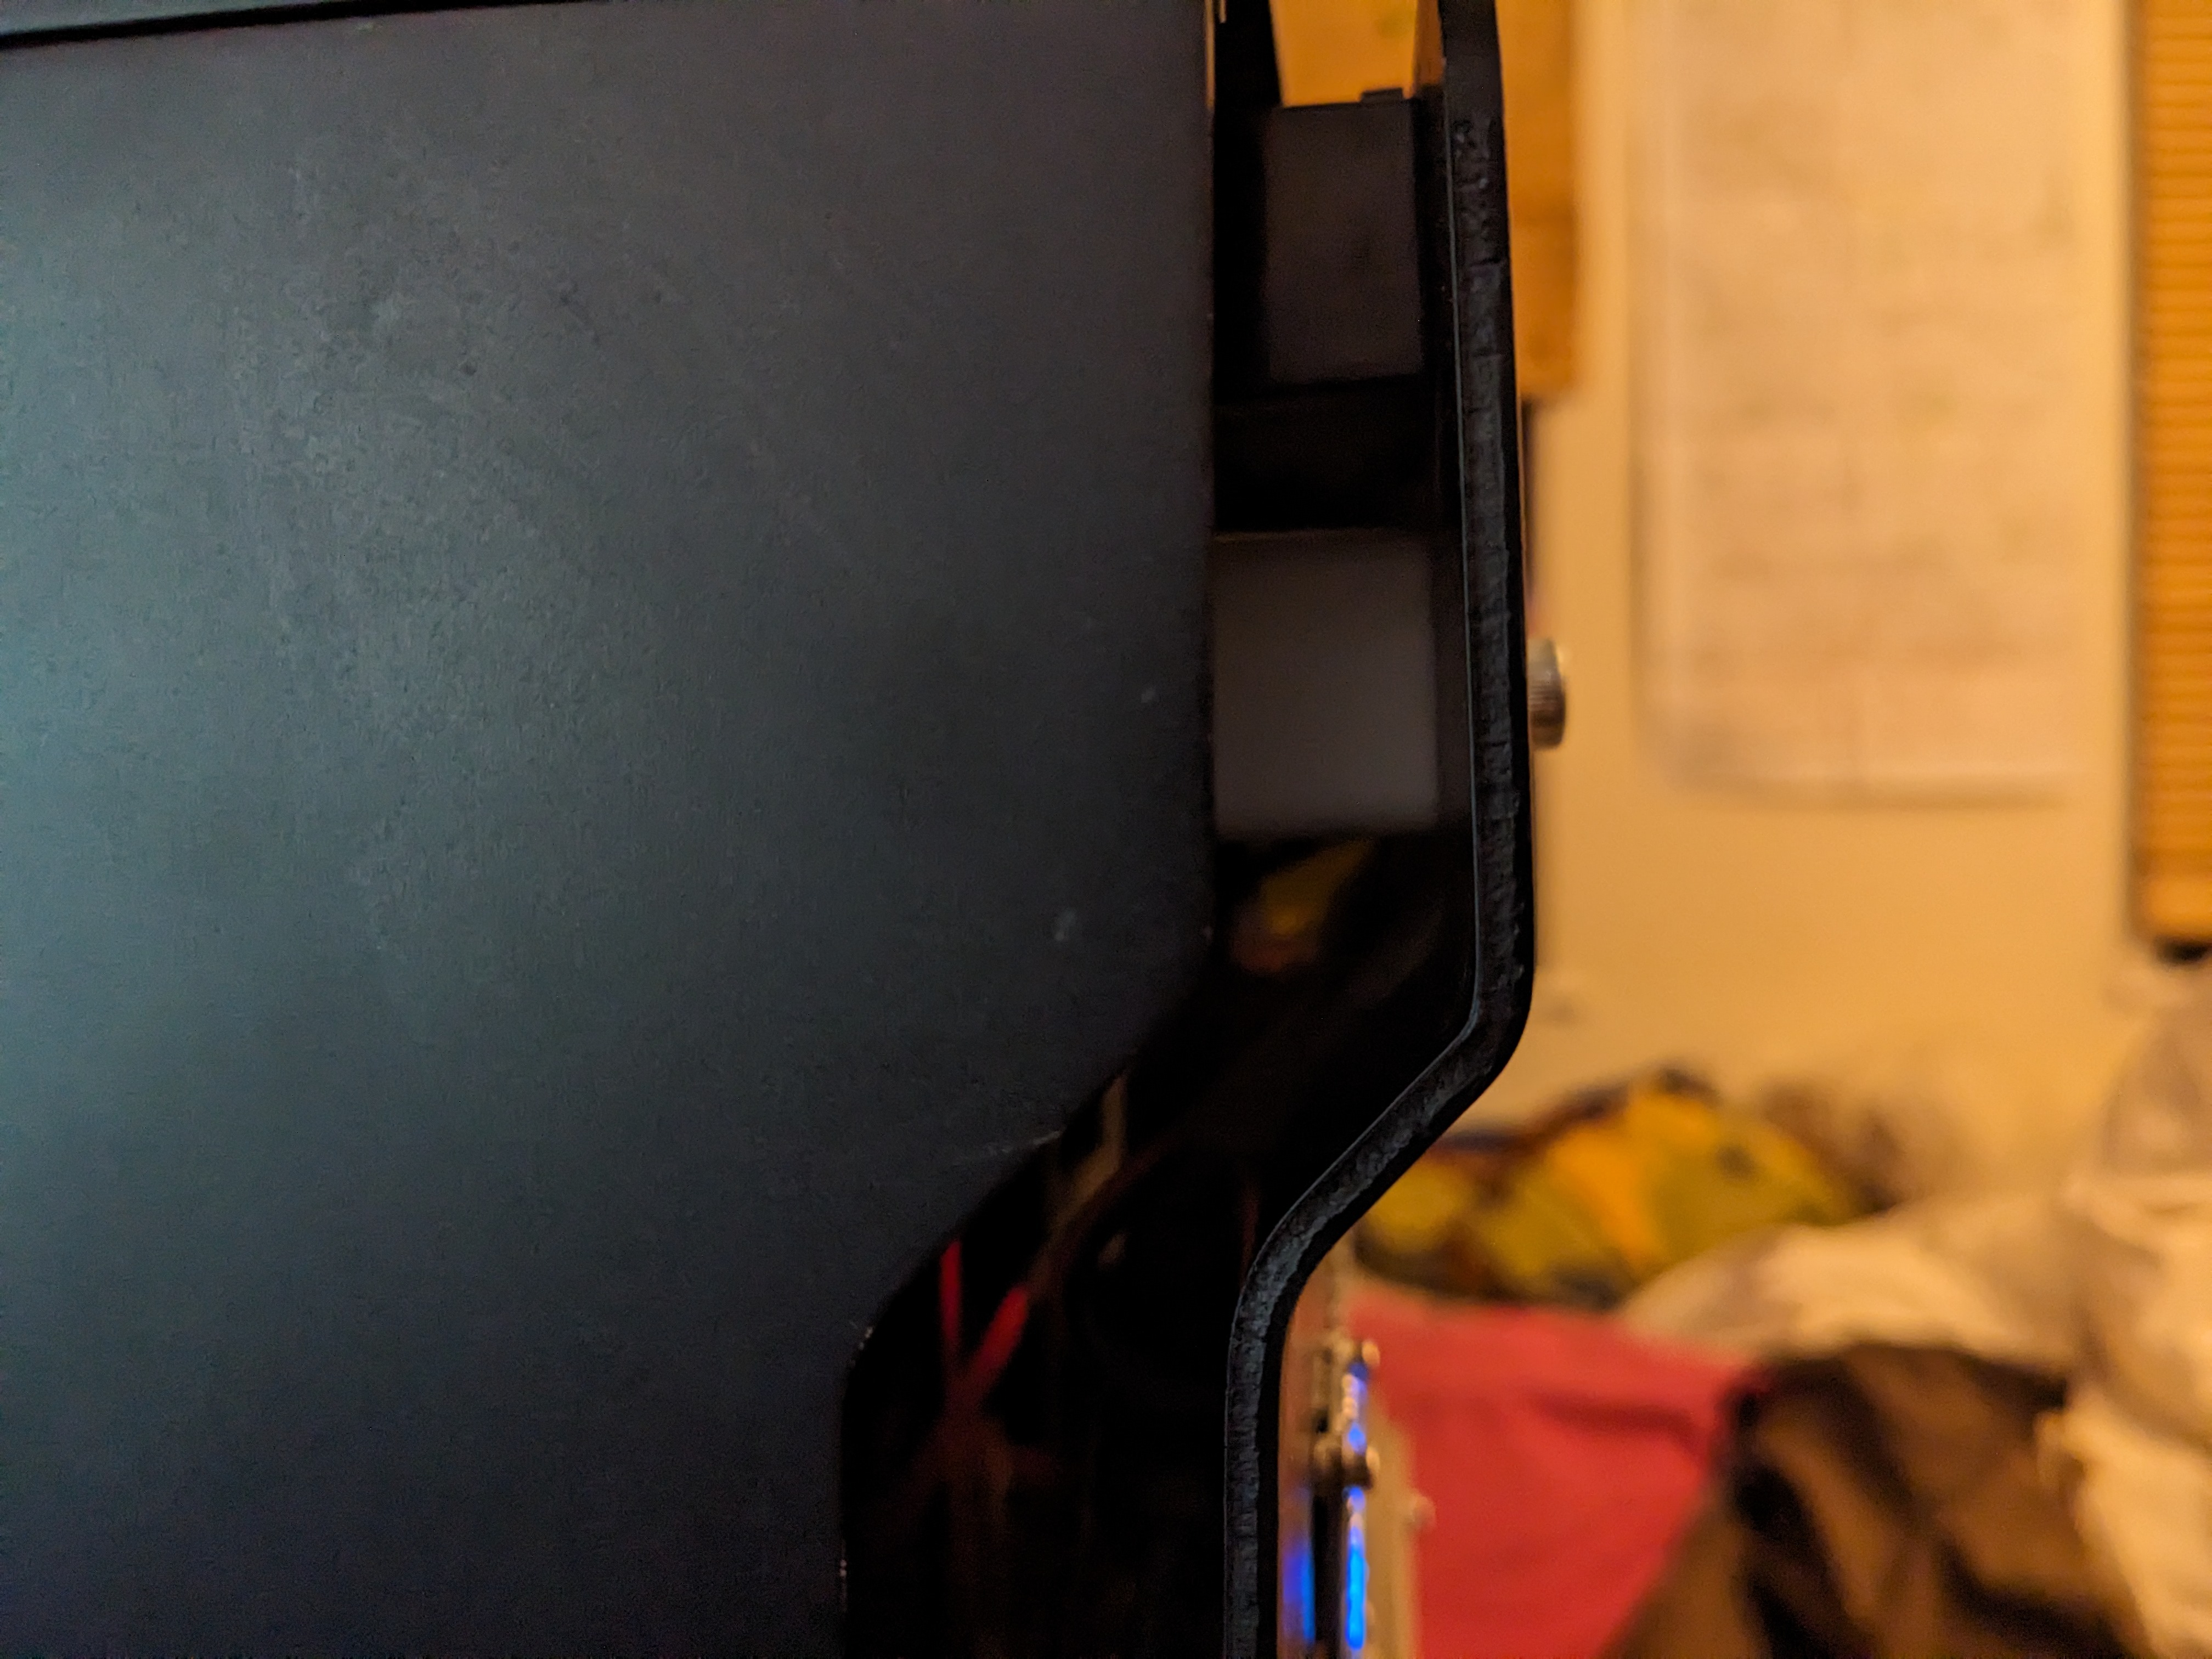
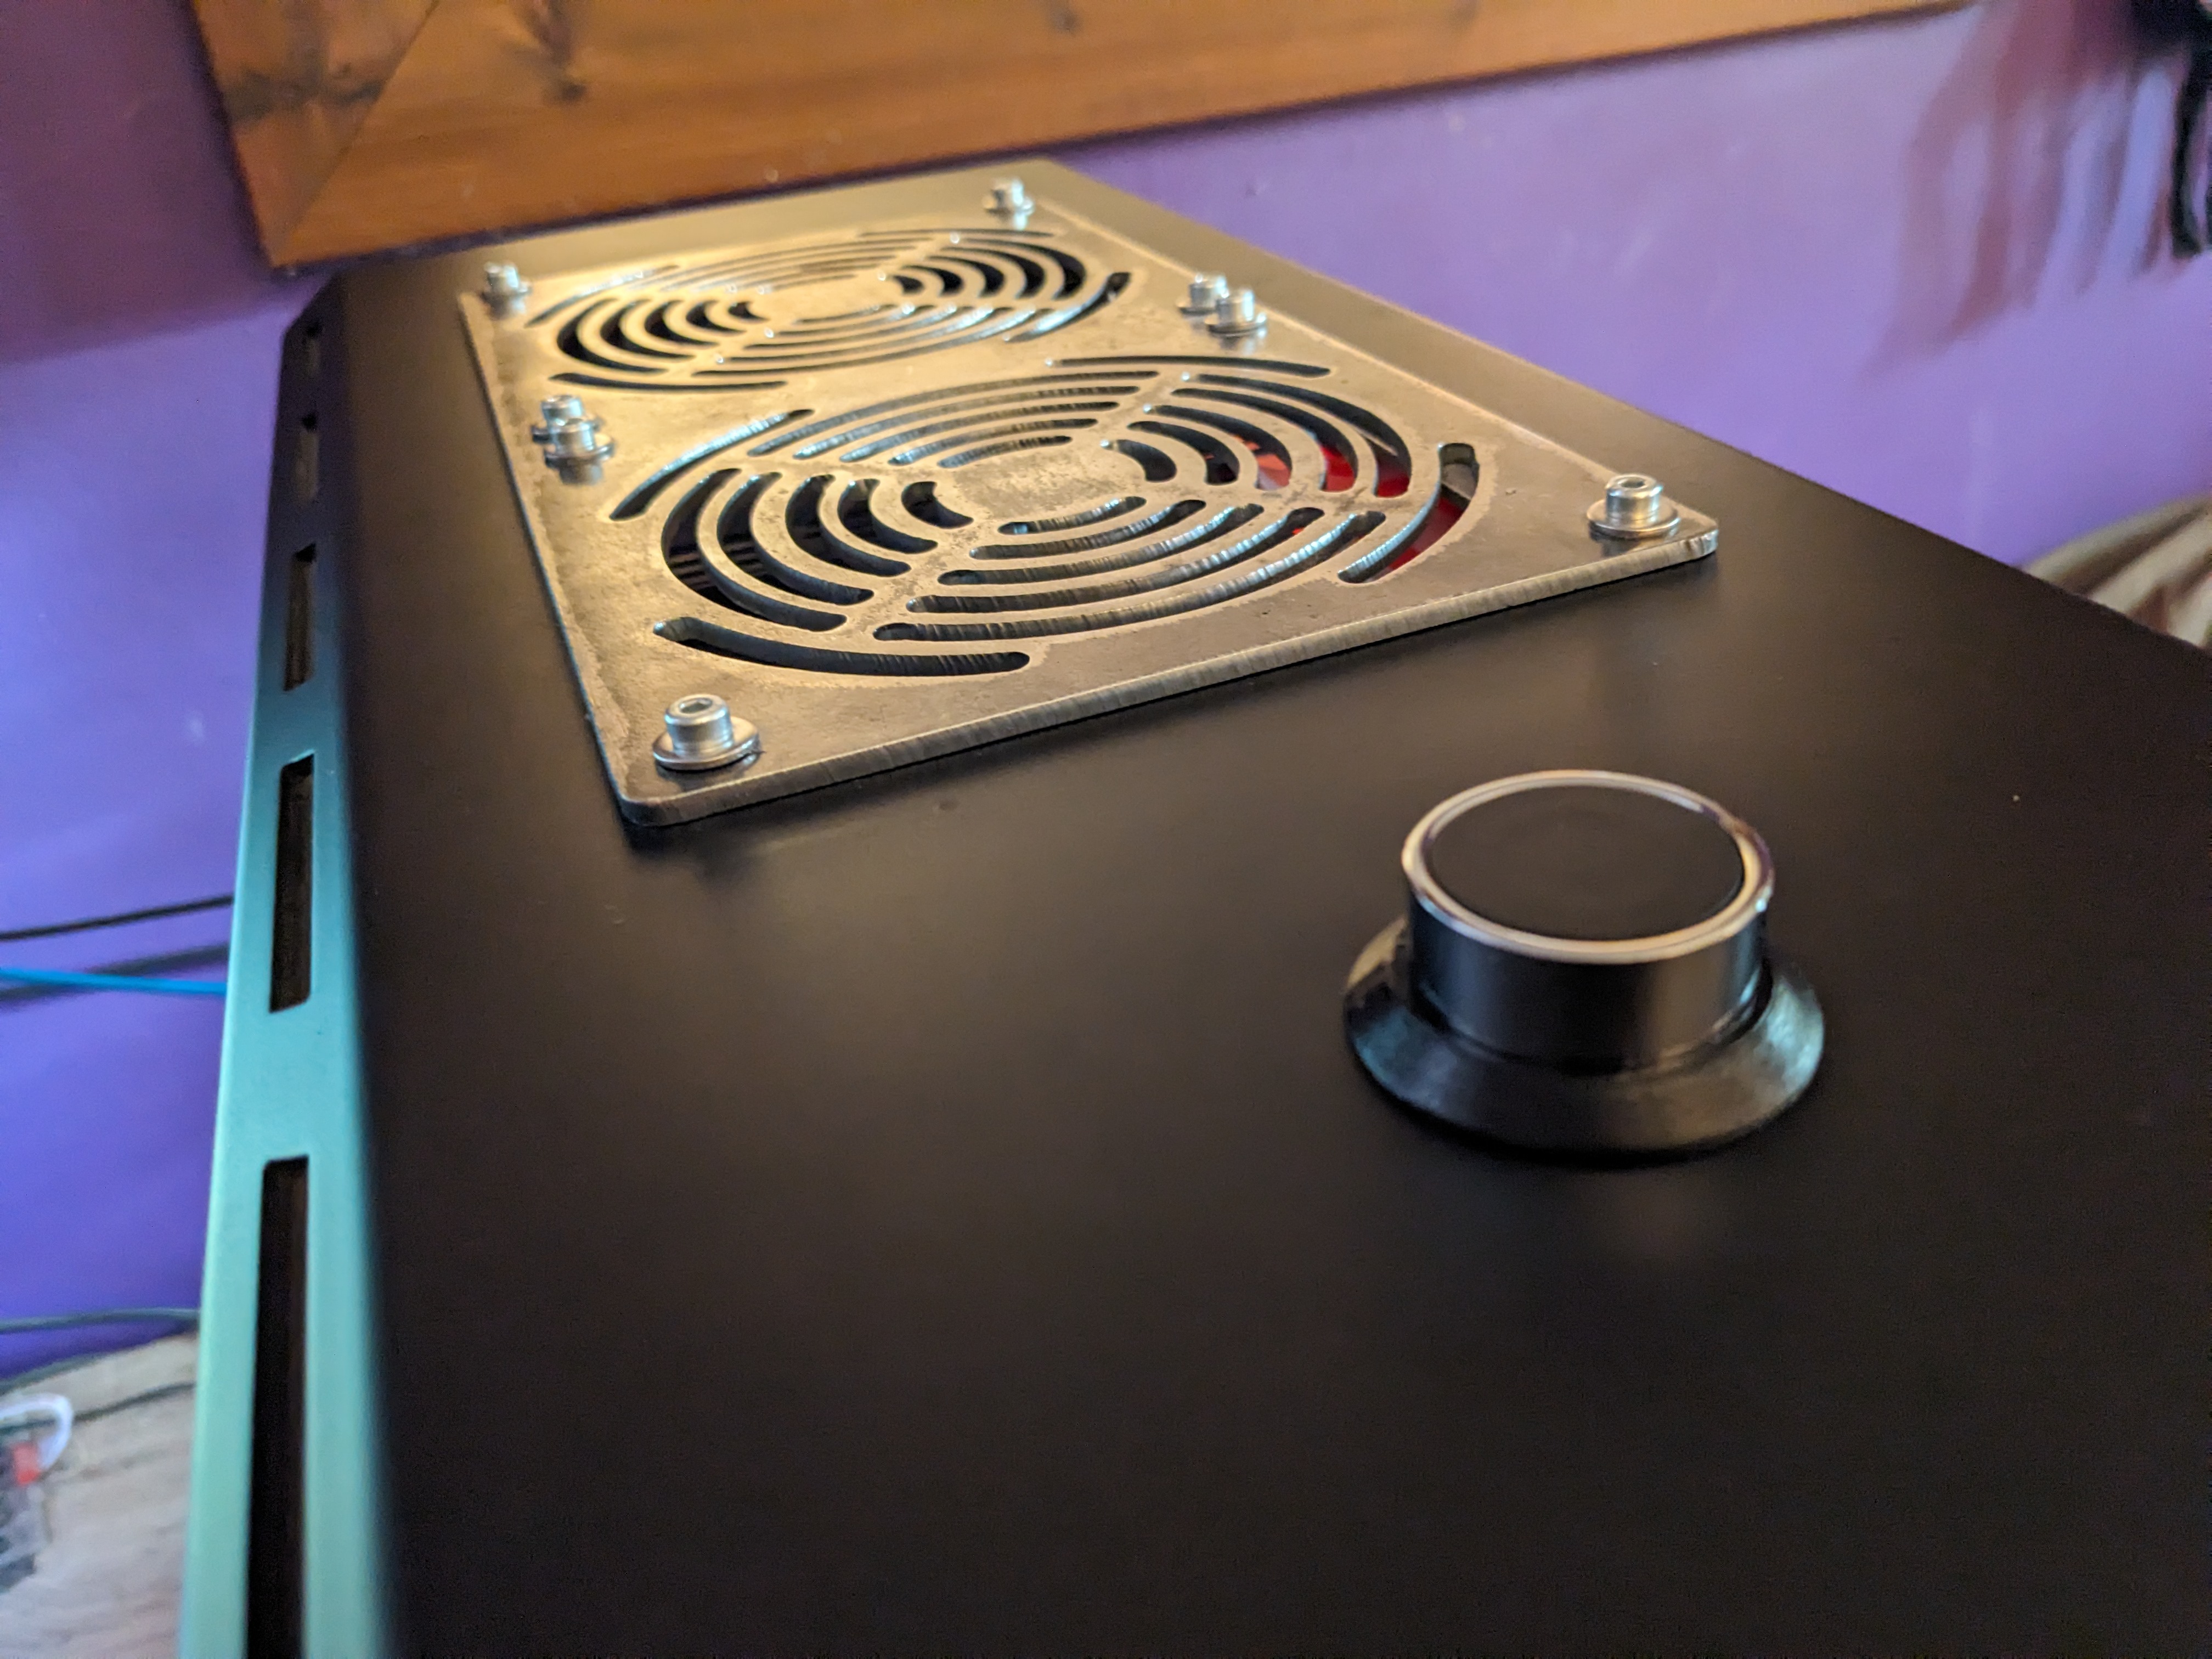
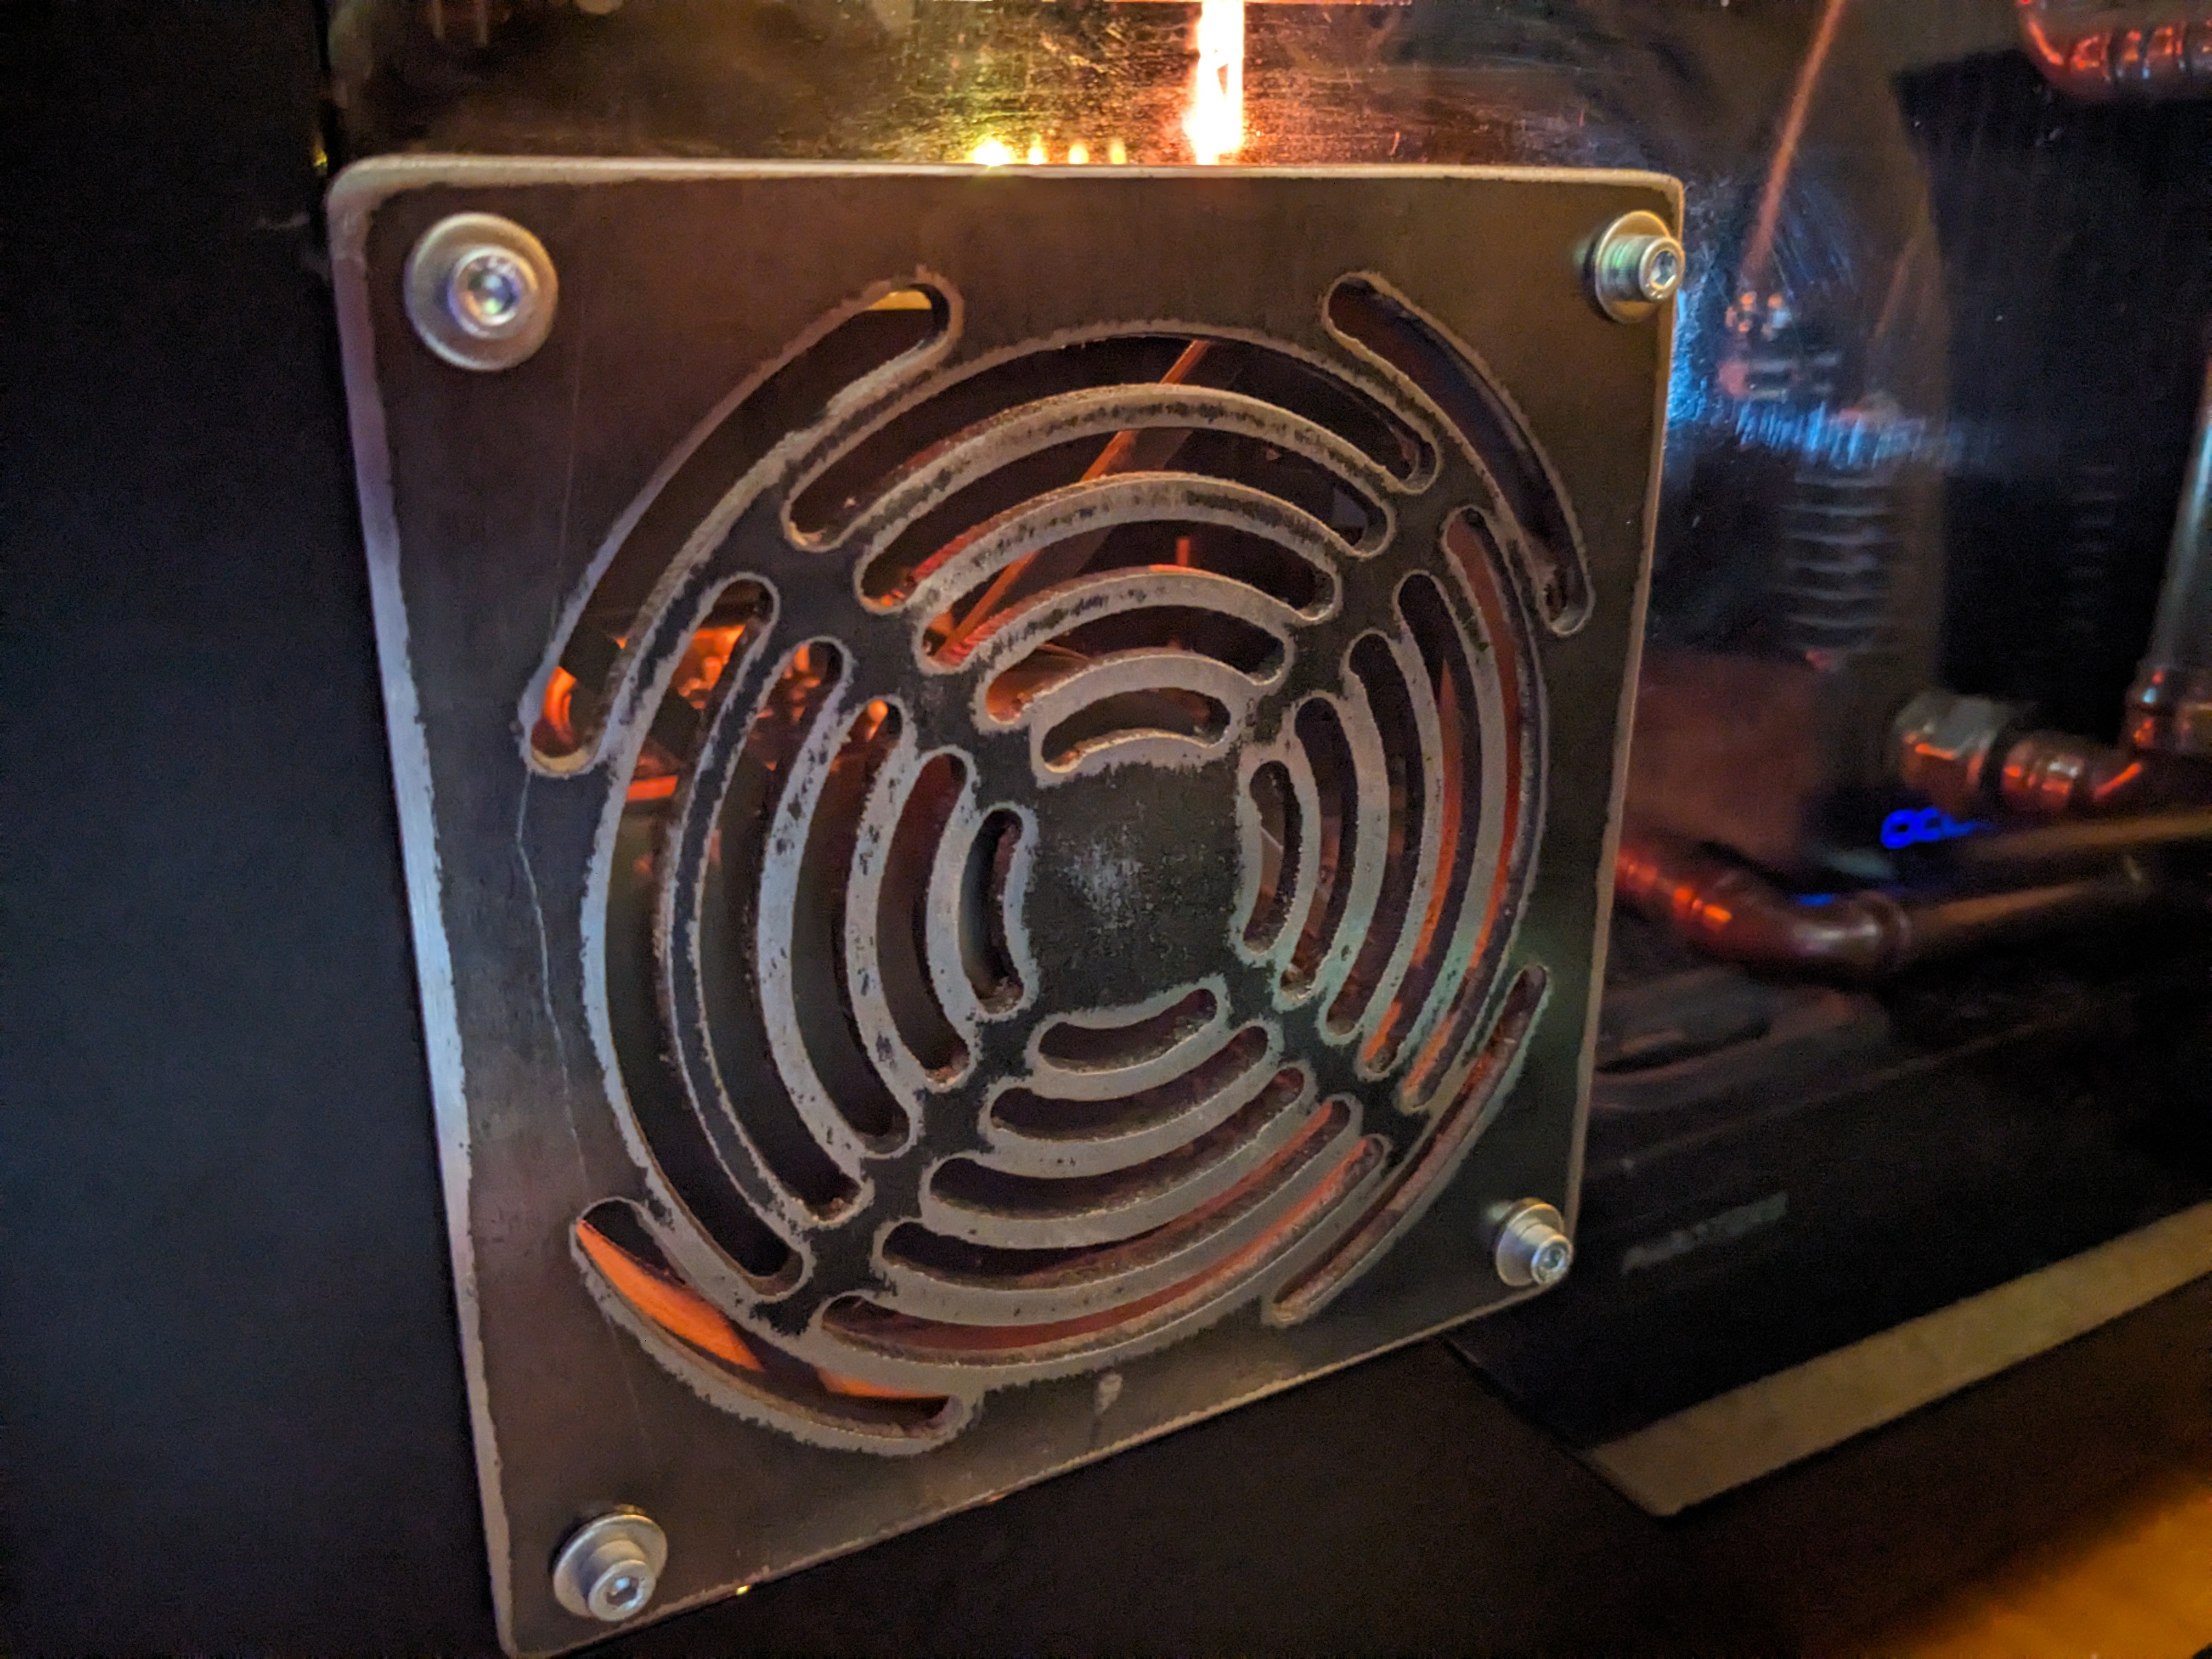
the Phanteks EVOLV ATX is a well-built and attractive PC case made mostly from 3mm aluminium. the solid front and top panels are hopeless for cooling though - they prevent any fans from generating sufficient airflow for the heatsinks or radiators inside - so first I set out to improve the airflow characteristics of the case. with the front panel, this was achieved by just shimming the mounts for the panel out by around 25mm, widening the gap around the edges significantly and giving the fans more room to breathe. for the top and window side, I drew some vented fan bezels to be mounted over rough-cut holes and had them cut from steel by the good folks at Ravens' Way. I also added a massive mechanical power button because I'm childish - .3mf for the button foot is here.
|
|
 |
 |
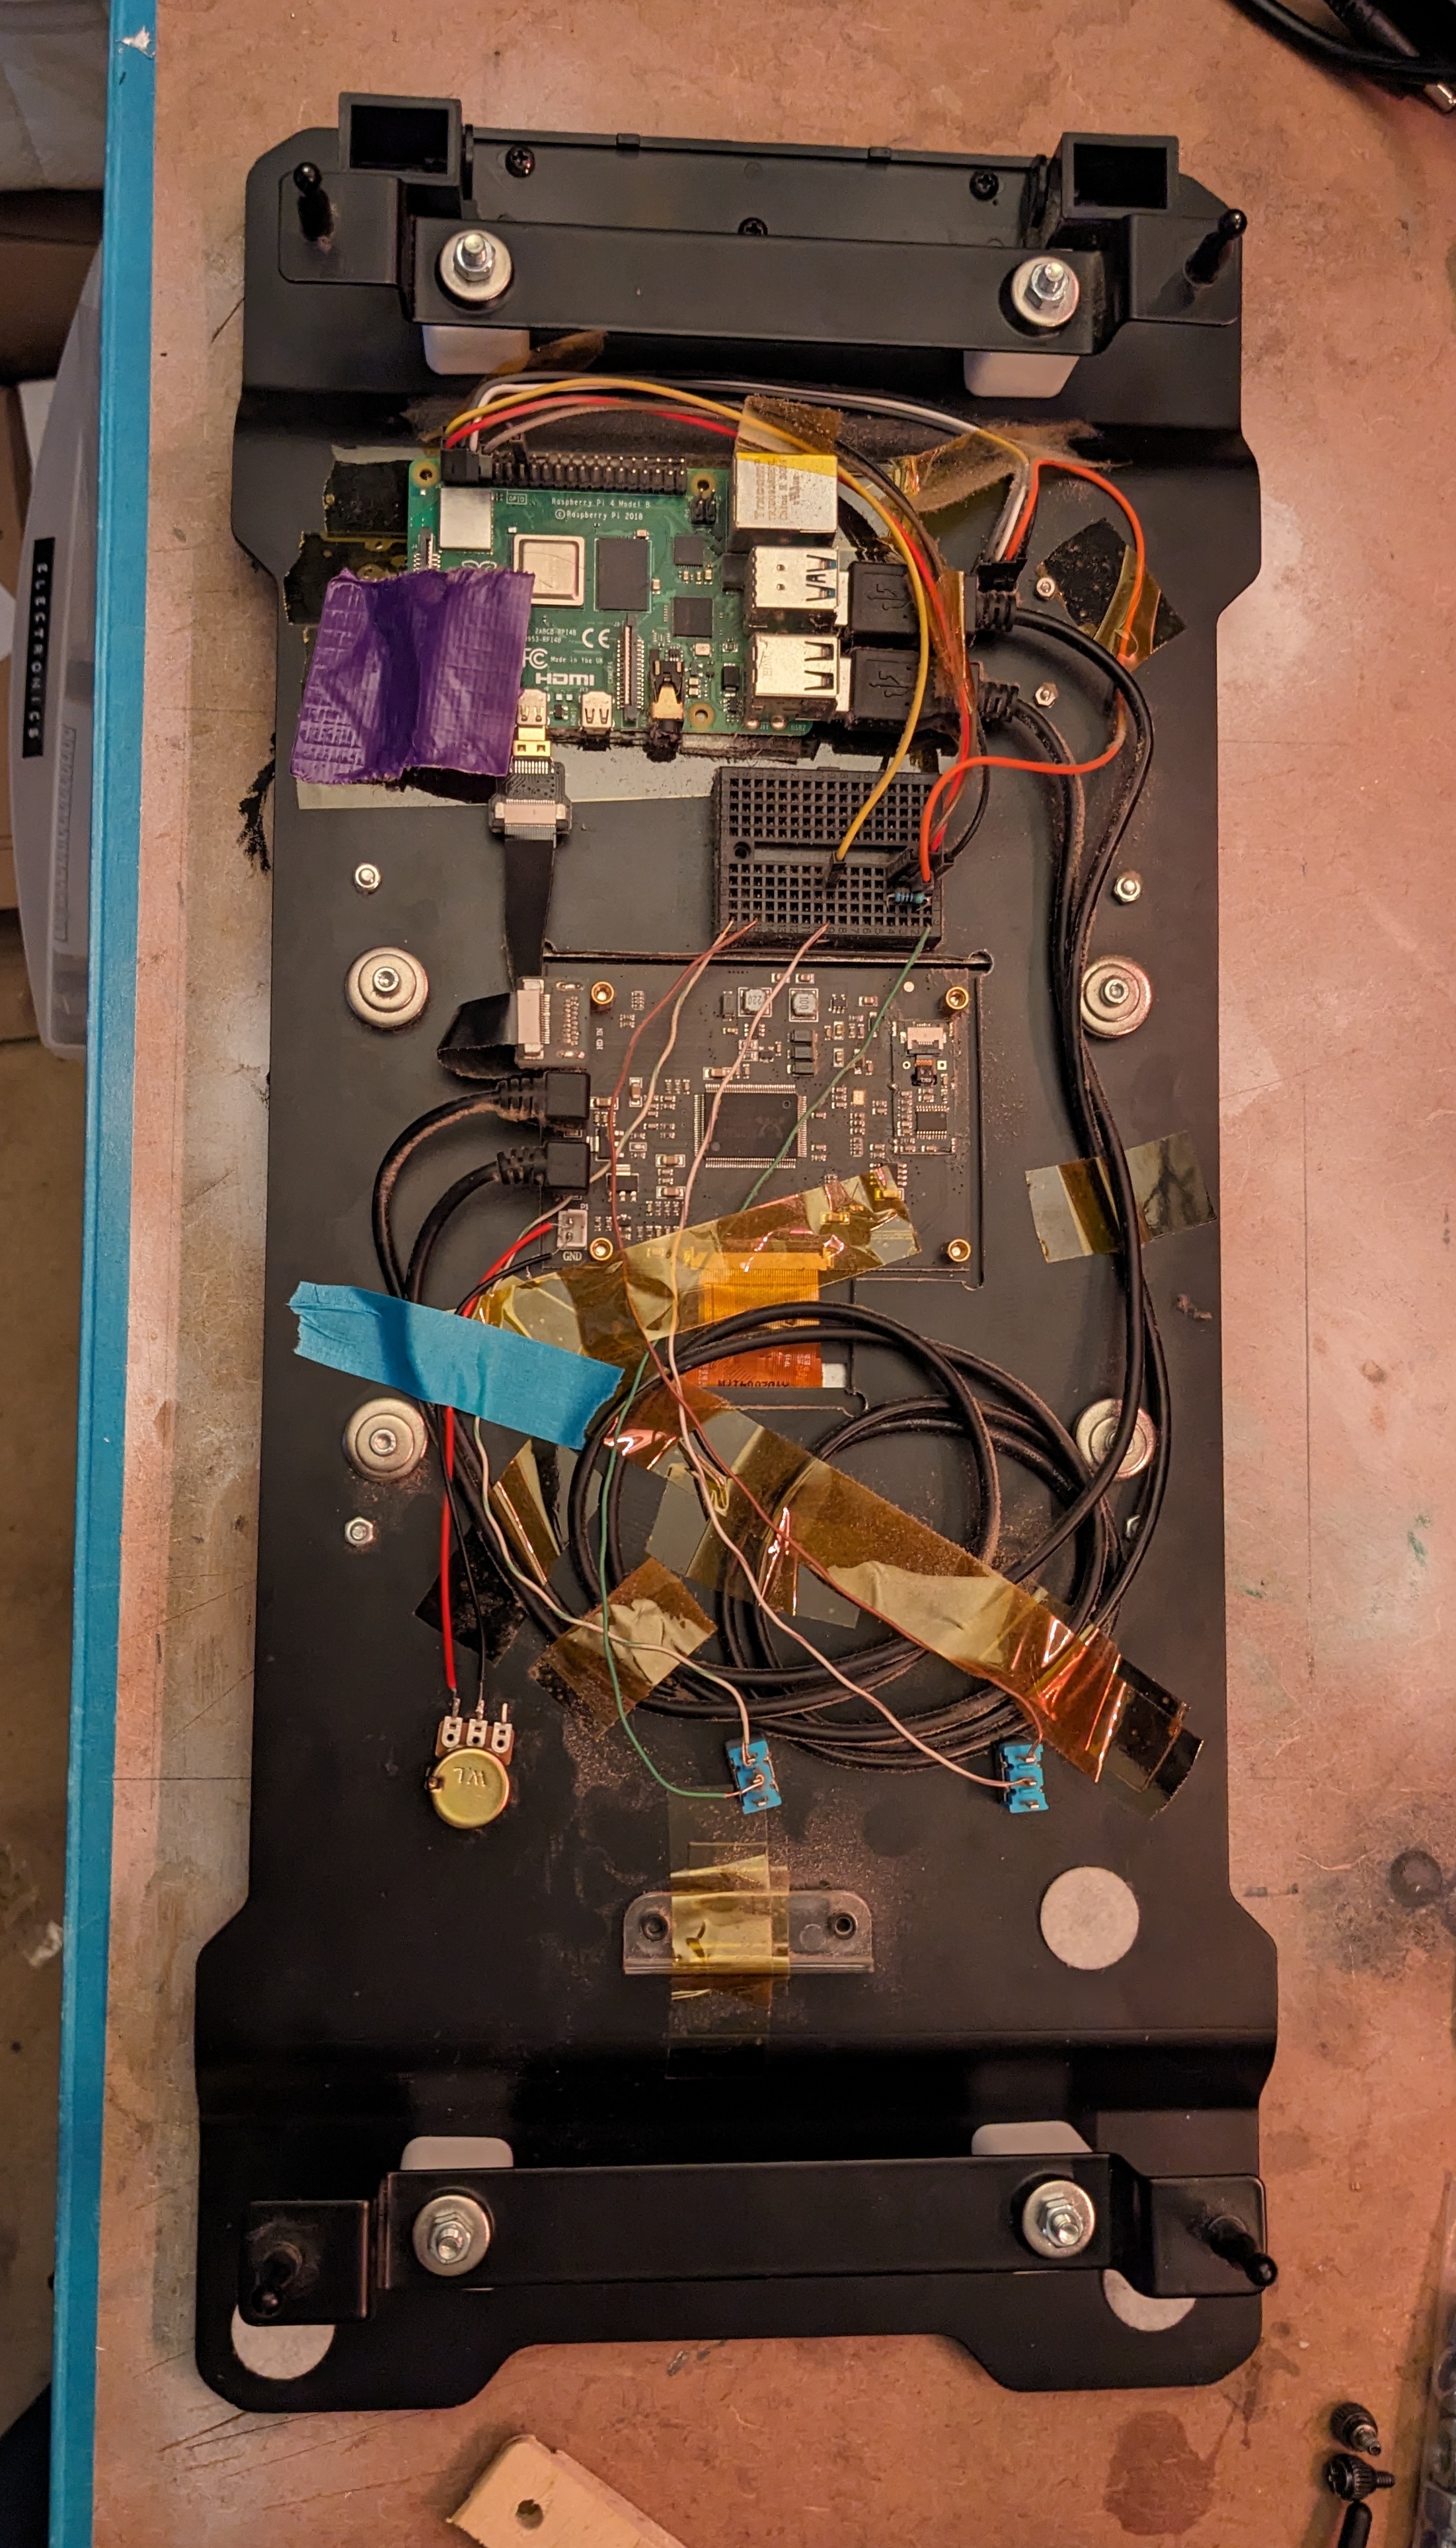
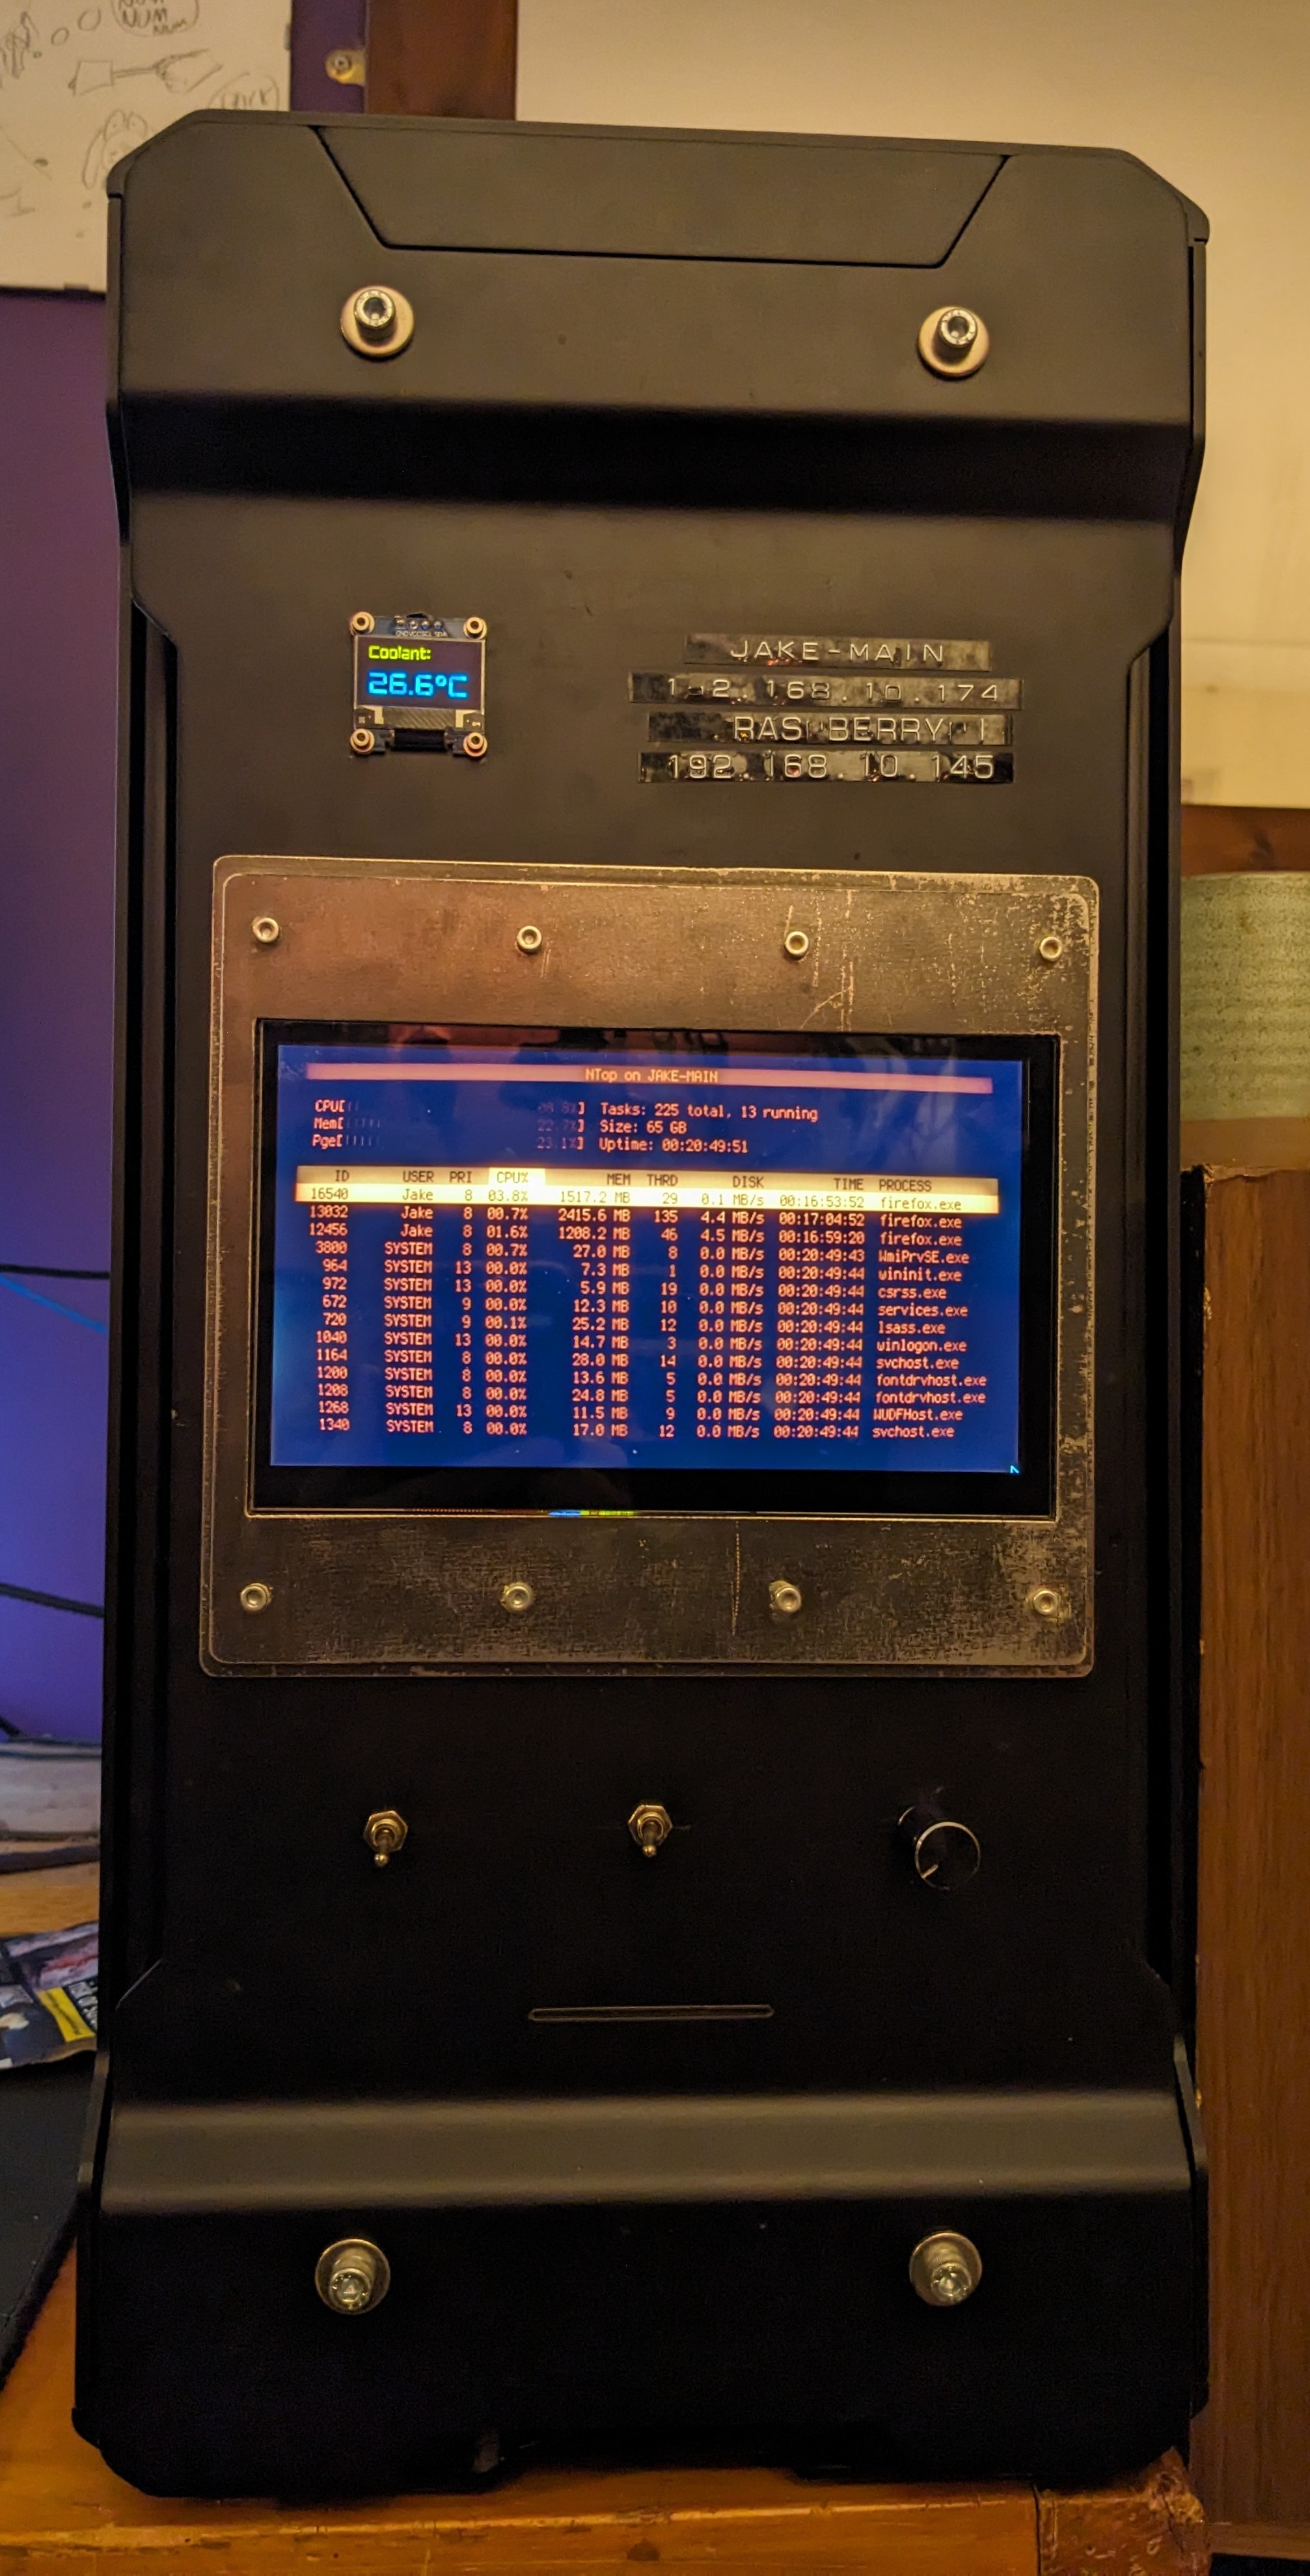
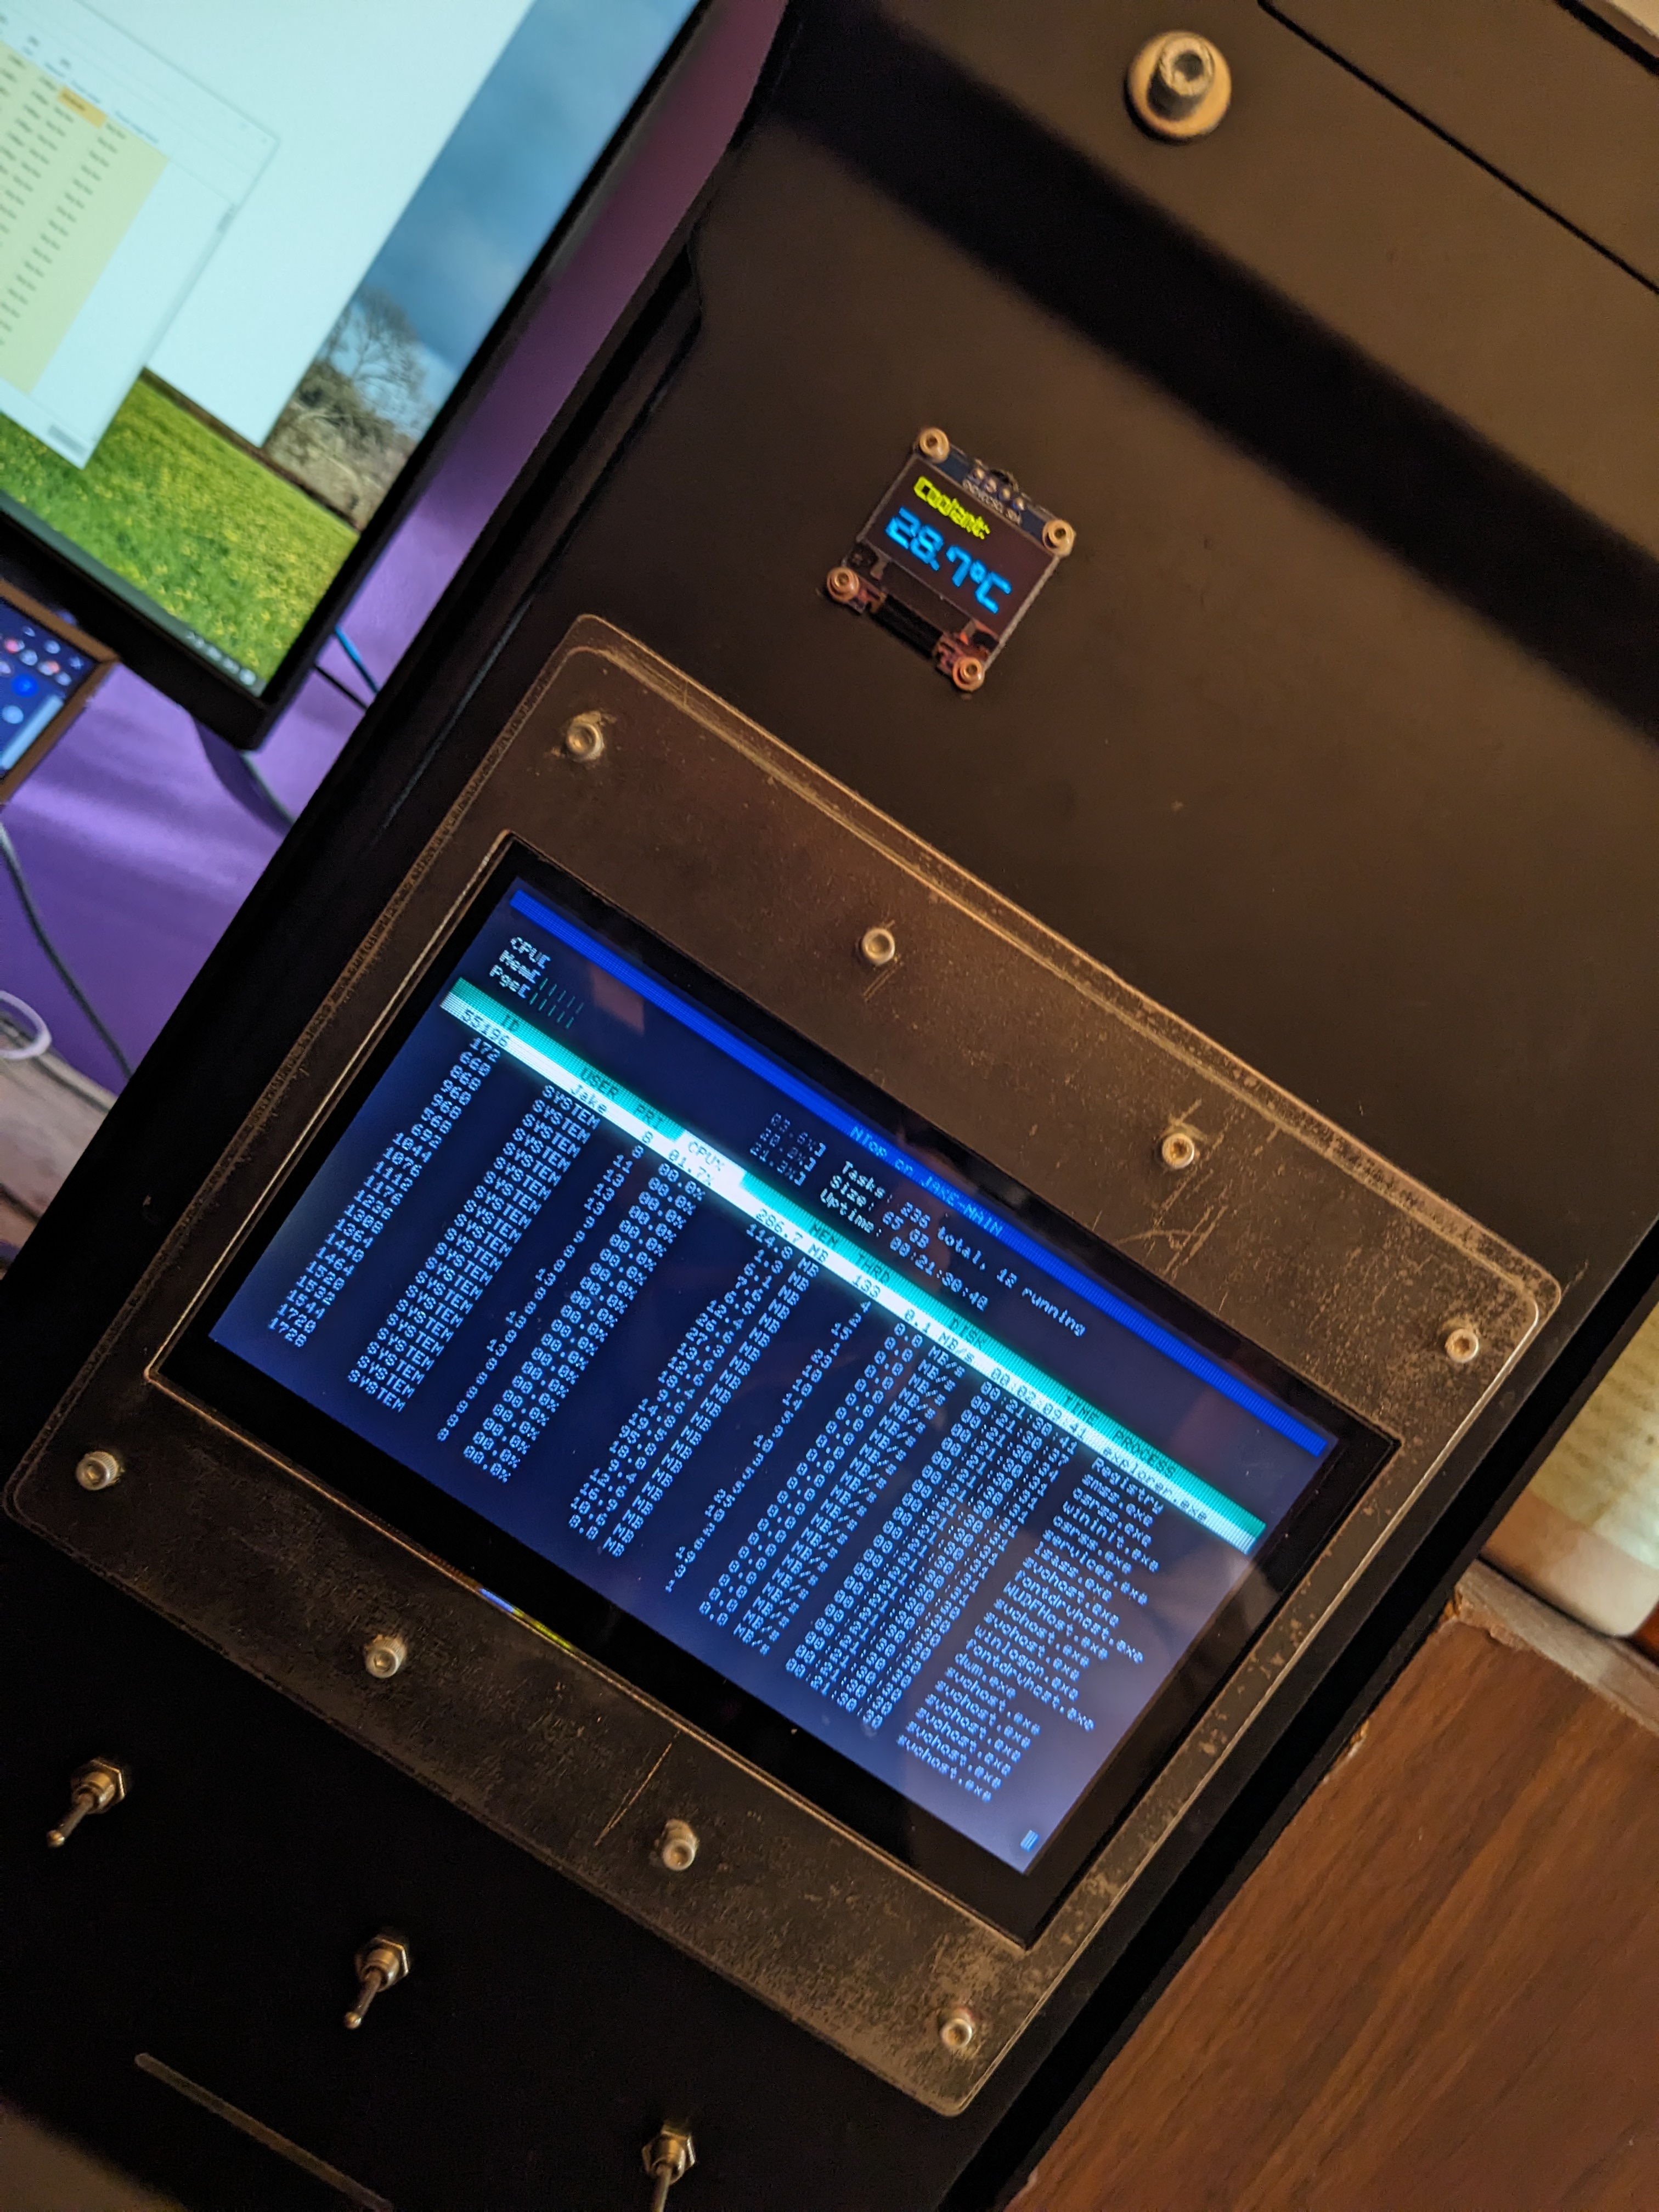
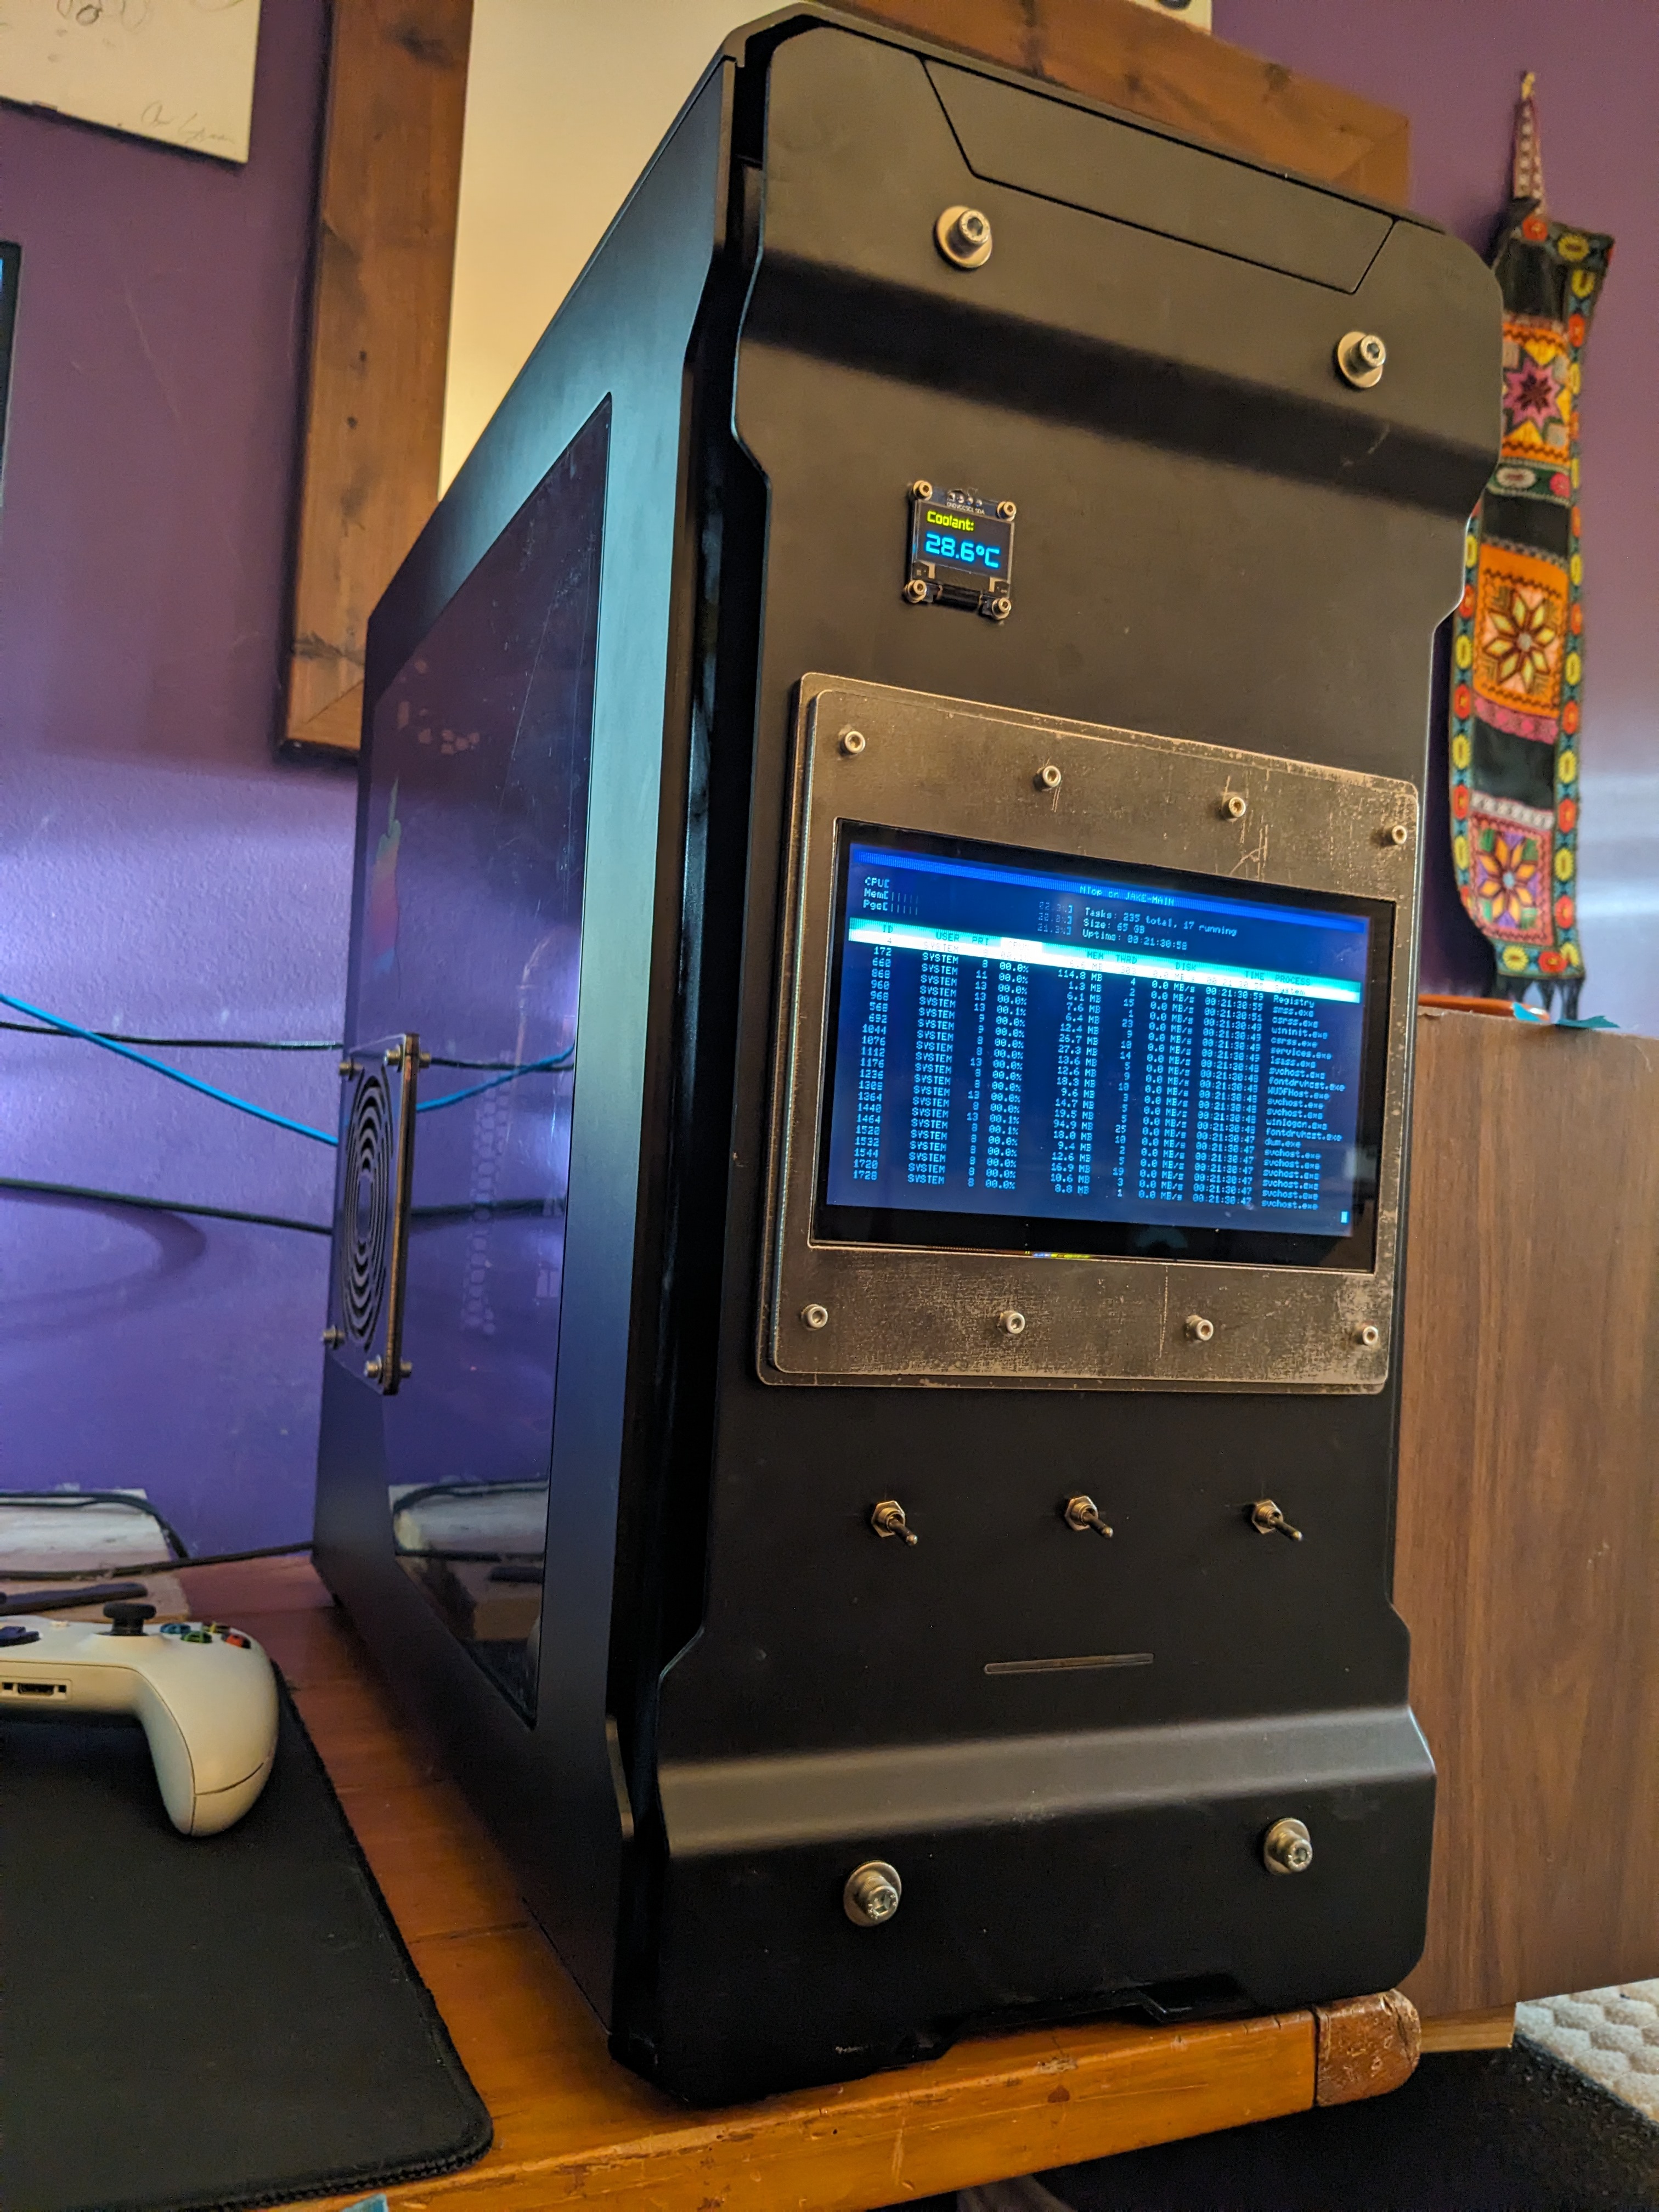
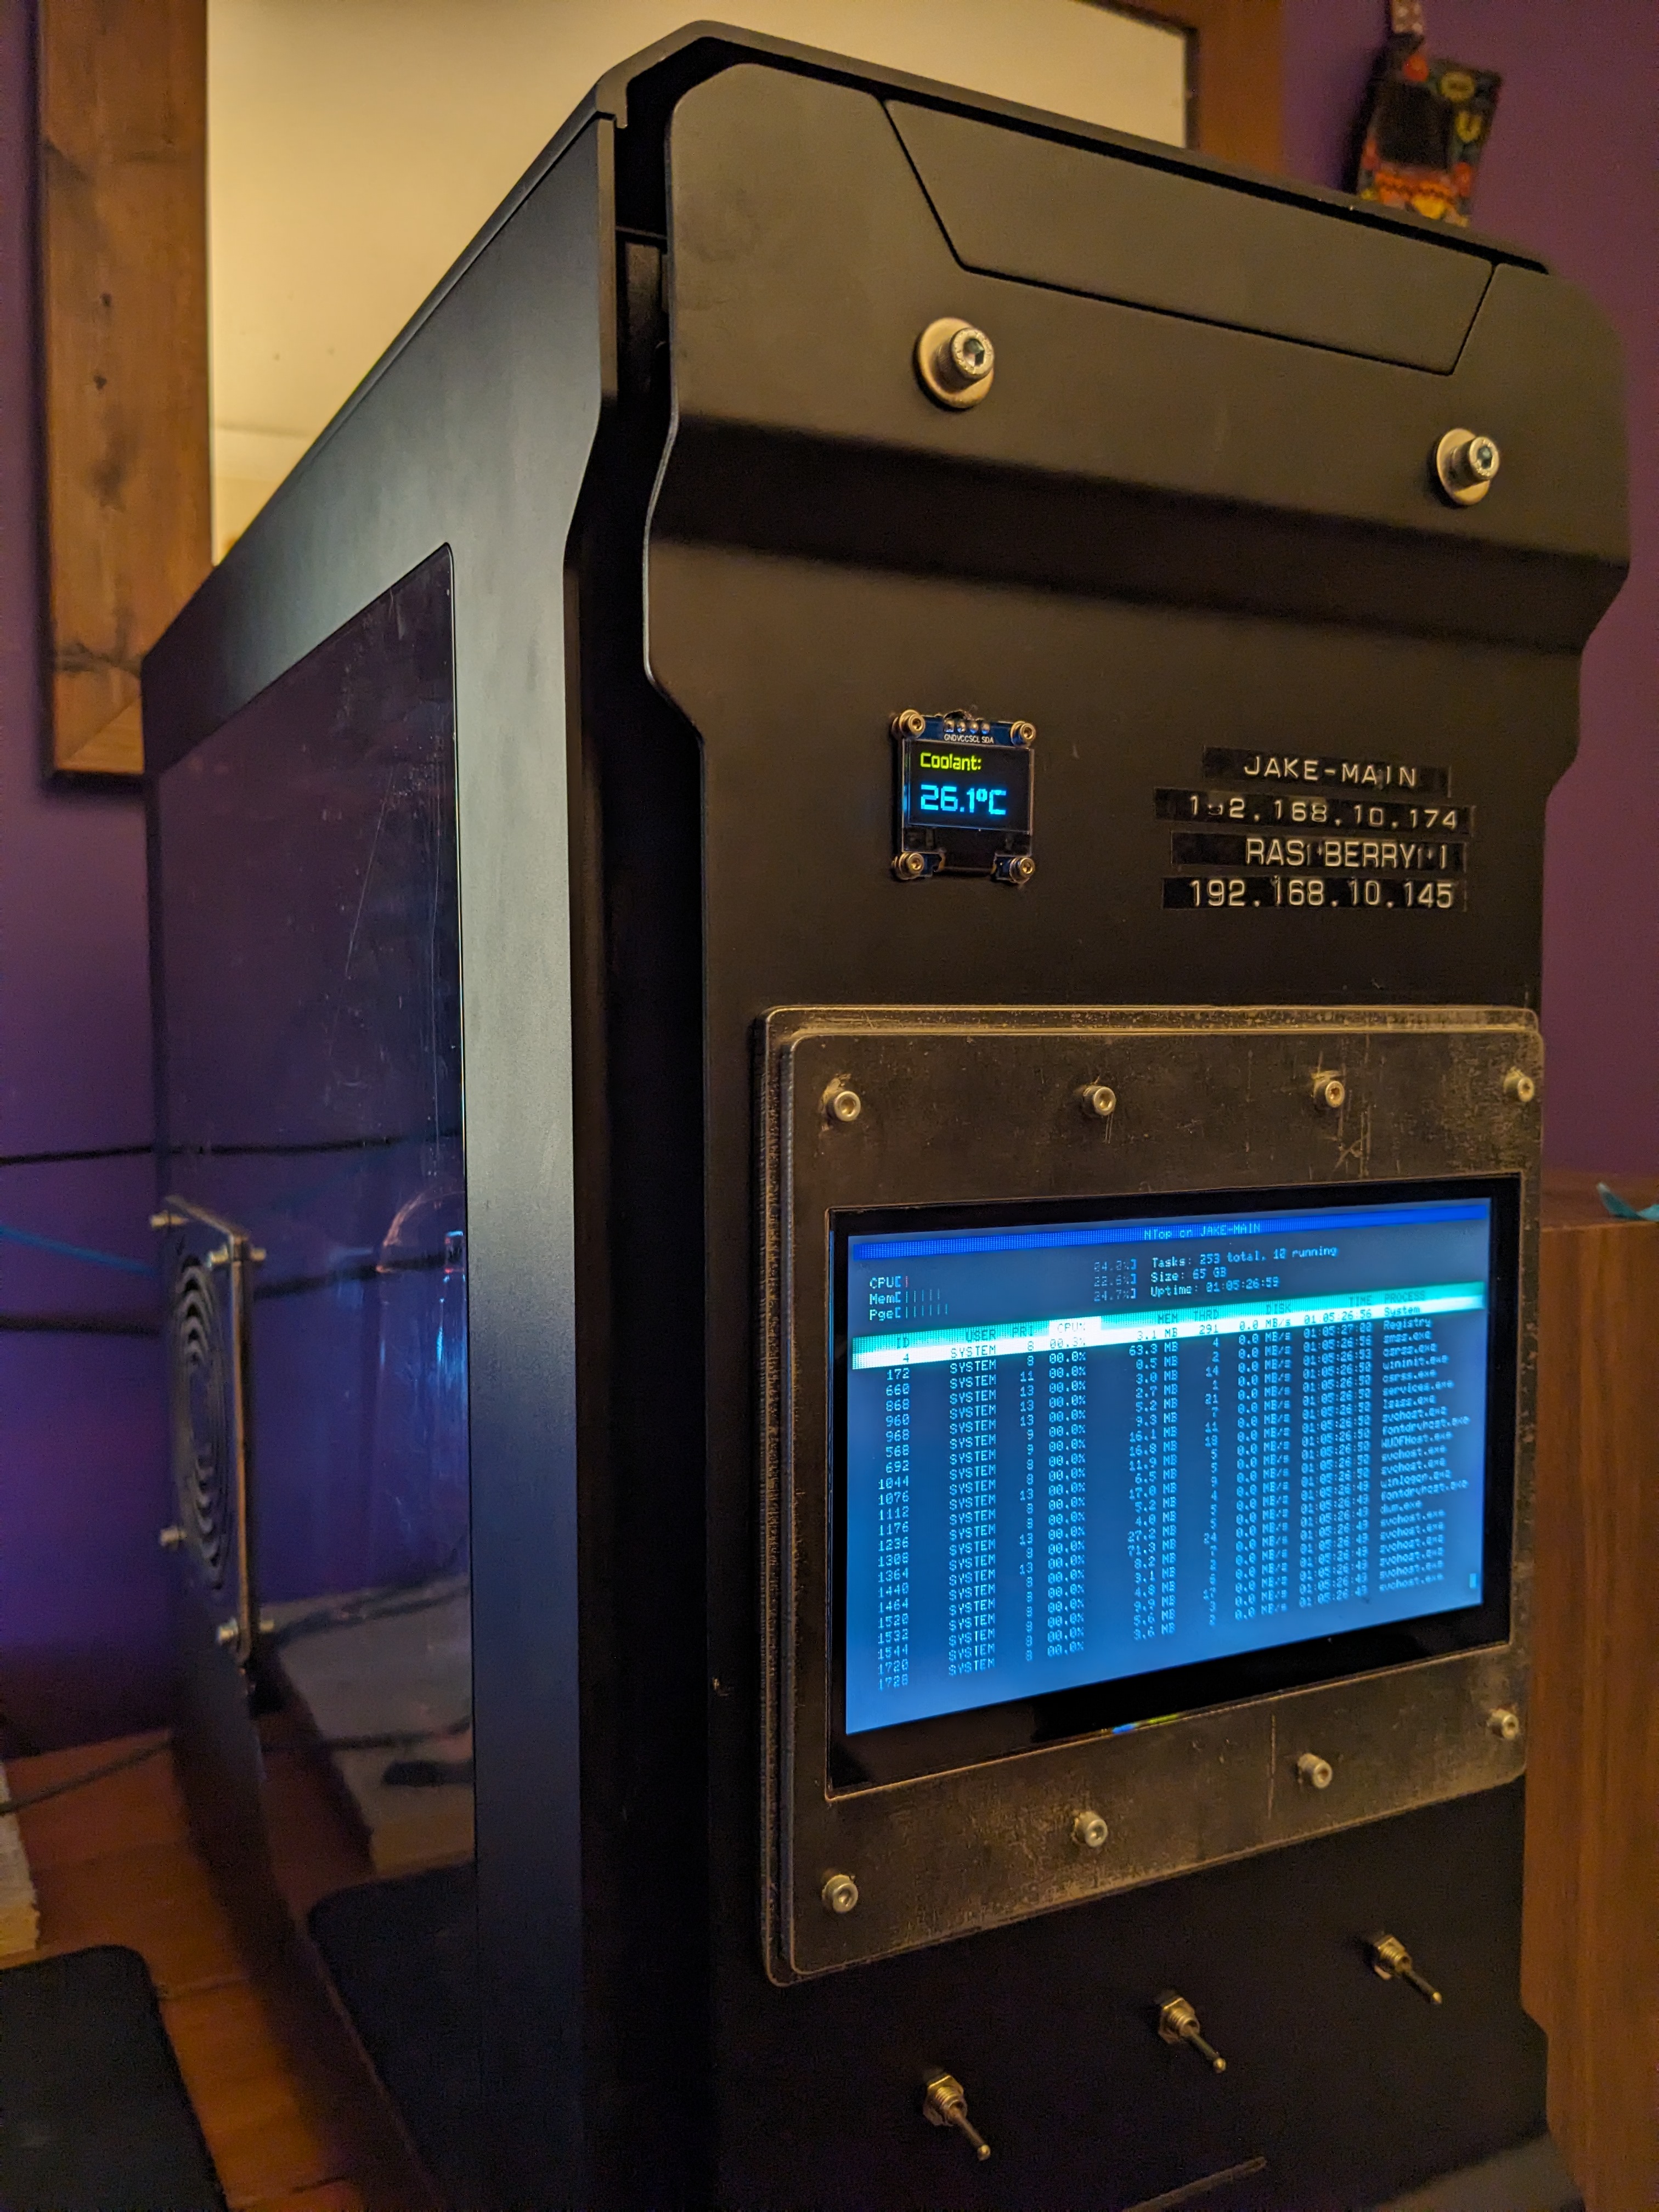
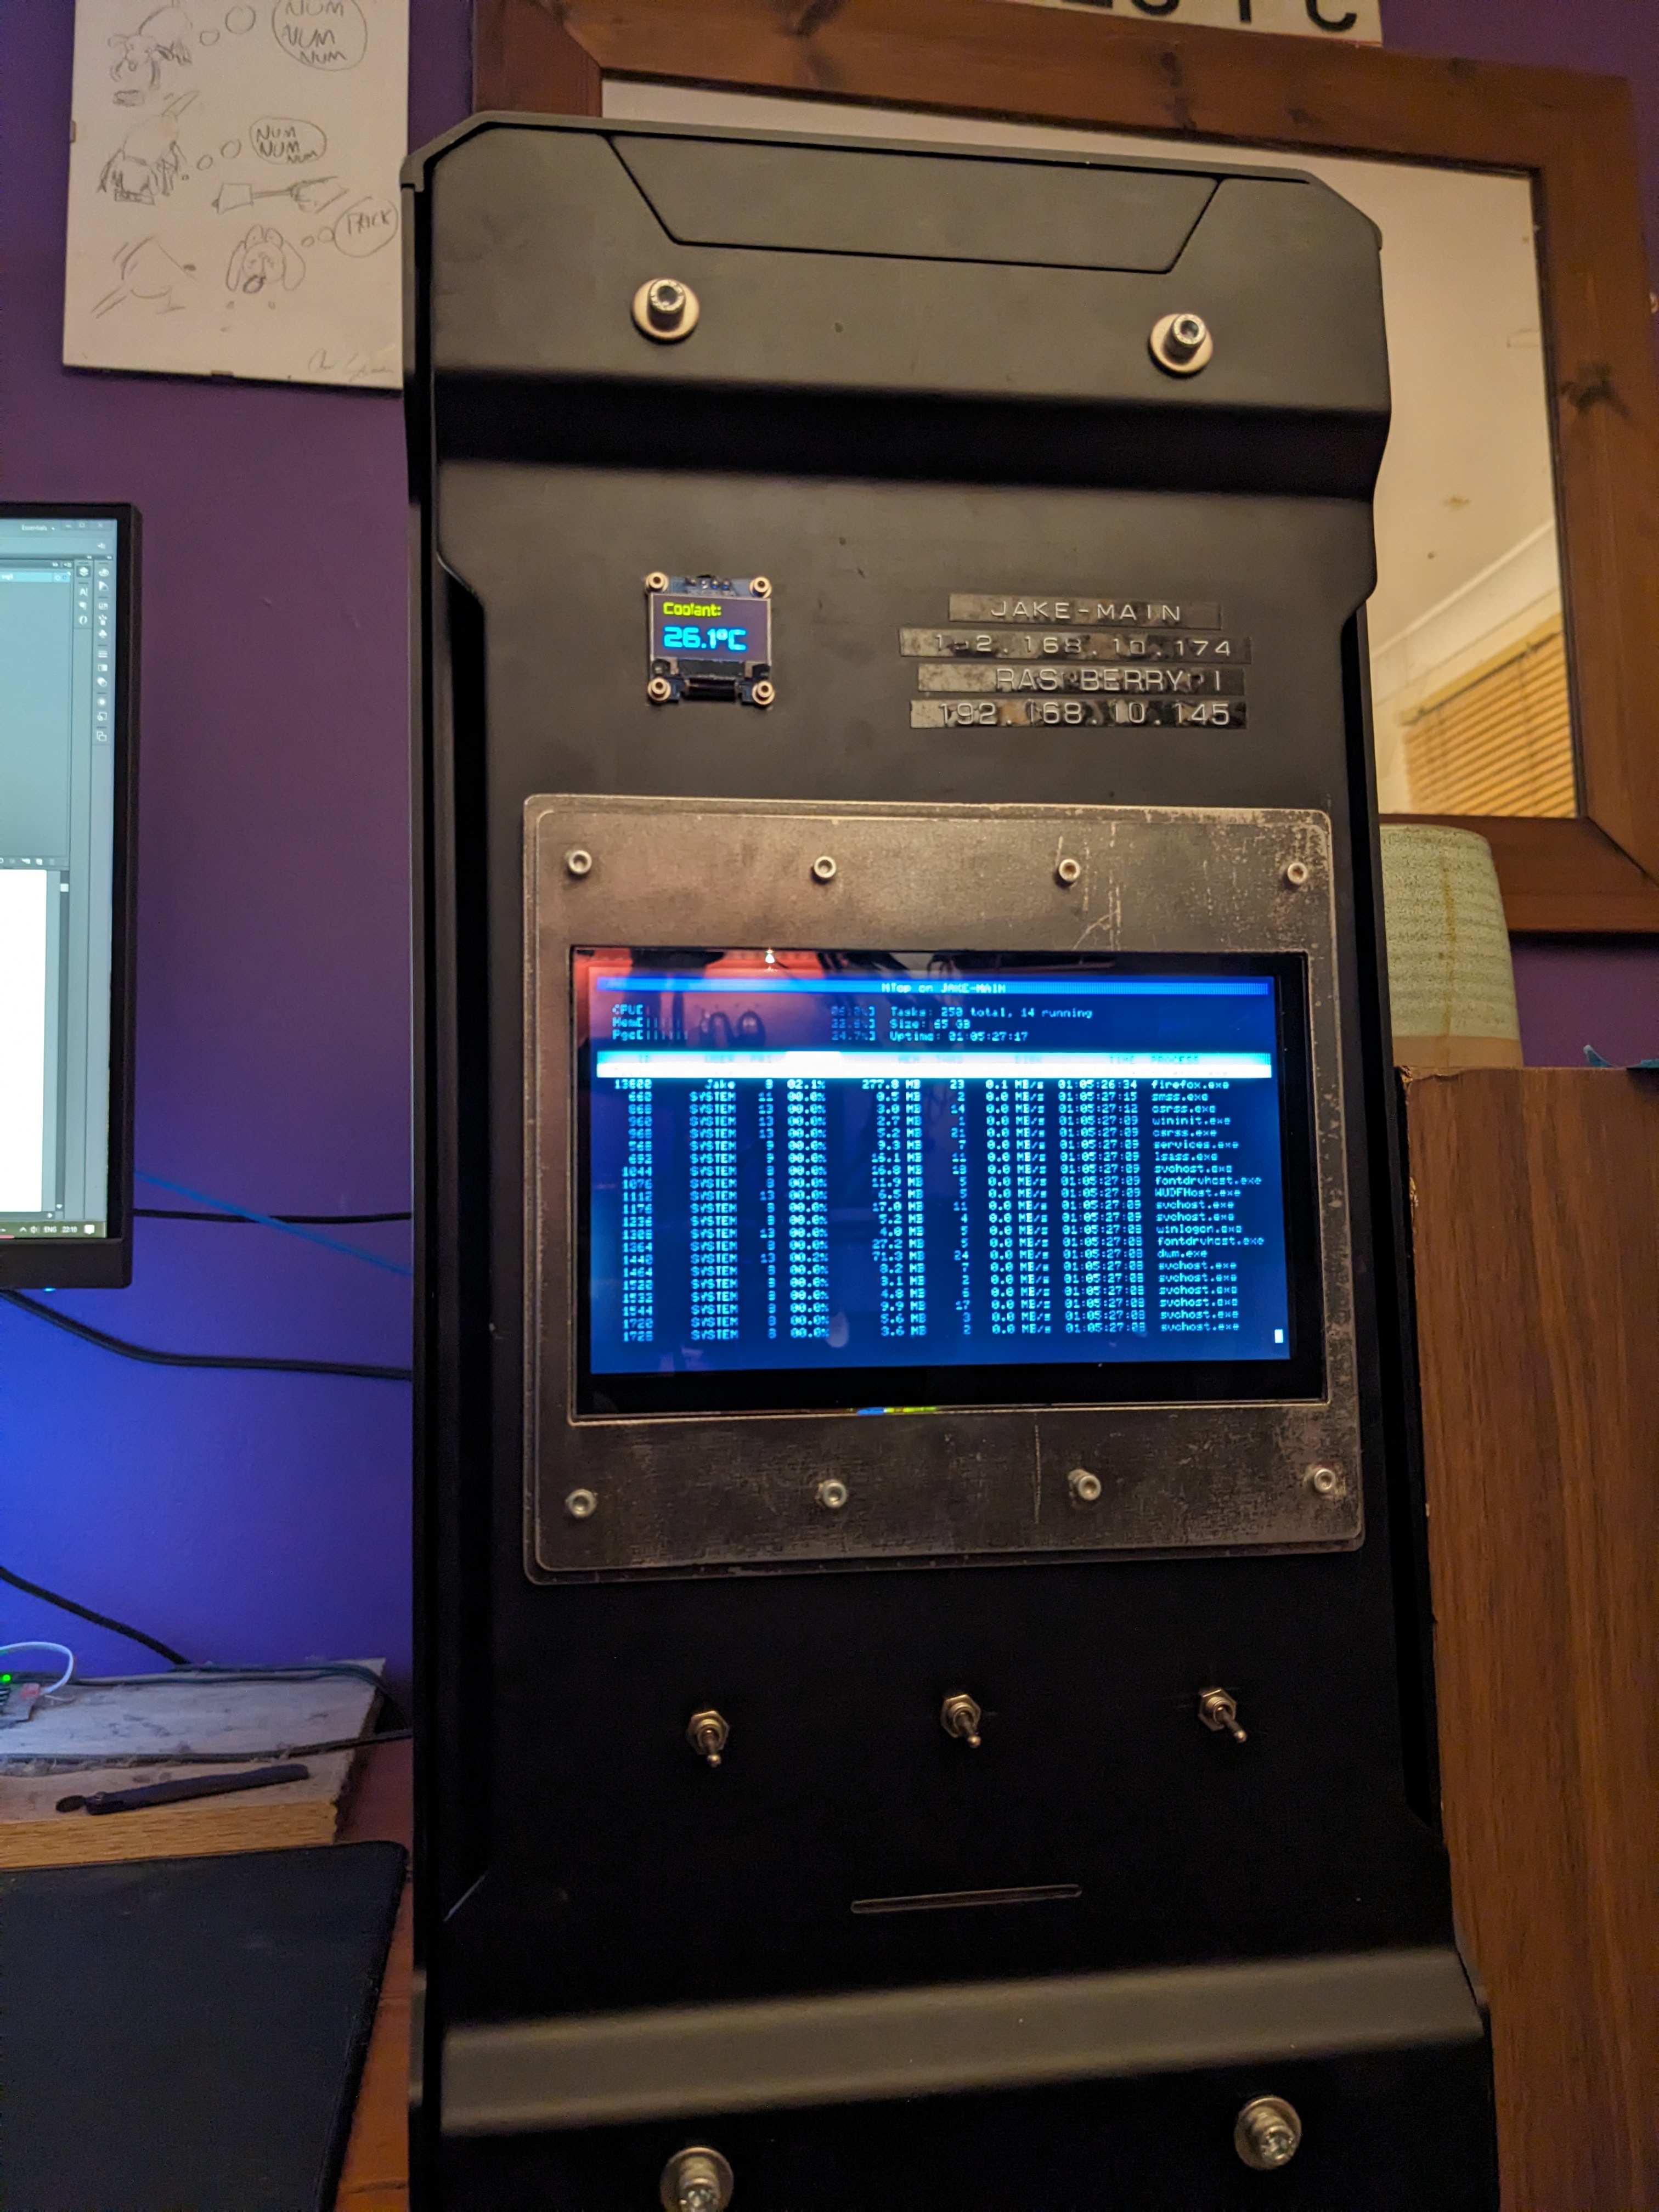
with the front panel shimmed out, there was more room to work behind it for fitting the displays, Raspberry Pi and other electronics. while this all looks very ugly, it's only around 20mm deep and thus fits nicely between the front radiator and the inside of the panel. I assembled all of this over the course of a few weeks while the computer was in use, so stuck a small breadboard to the panel for use while making frequent changes. replacing this with something more permanent (and doing something about all the tape!) is on the cards, but for now it's very useful for modification and debugging. the Raspberry Pi controls the two displays (one HDMI 7" IPS touchscreen for process monitoring, one SPI/I2C 128x64px OLED for coolant temperature) and fetches the data (over SSH in the case of the process monitor, GPIO in the case of the coolant probe).
 |
 |
 |
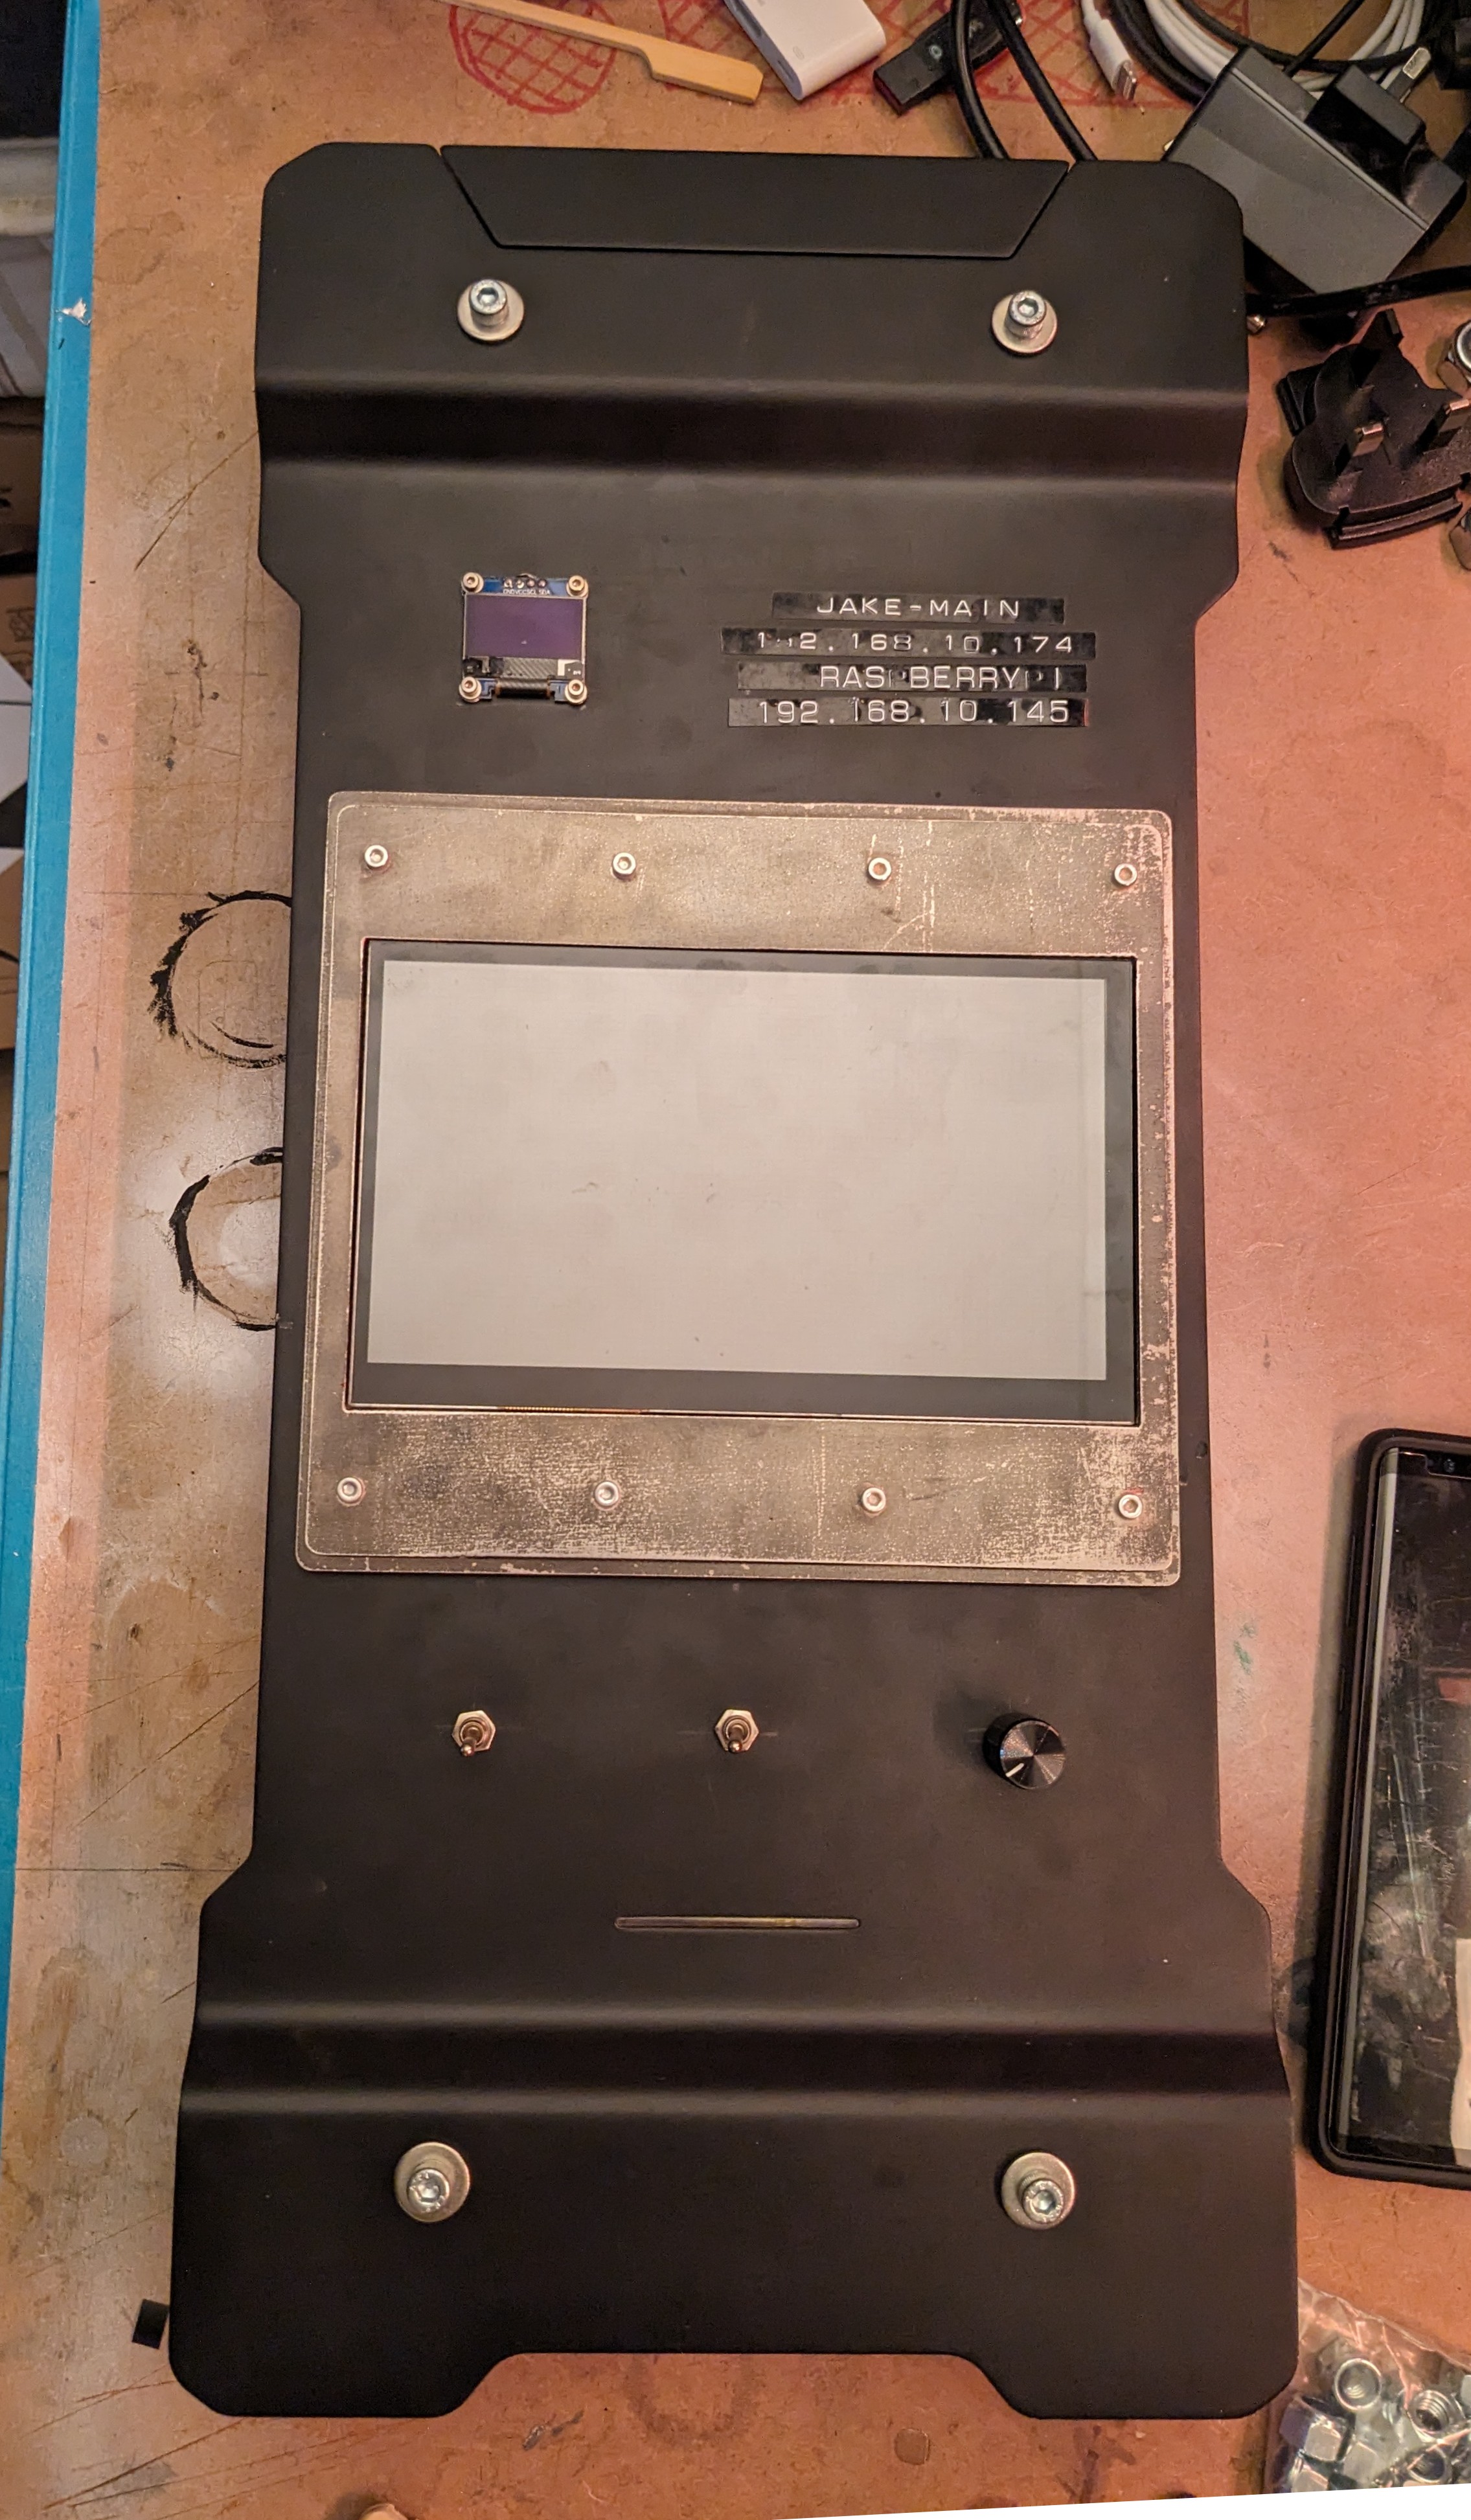
the Pi is powered by a SATA-power to USB-C adapter I made. this is probably not a fantastic idea, but the current rating of the PSU 5v rail and the SATA connector are comfortably higher than the max draw of the Pi4. both displays and the temperature probe are powered from the Pi, using USB and GPIO respectively. a little ribbon adapter for the HDMI and right angled micro-USB cables kept the profile low. below the display there are two toggle switches - Pi power, display power - and a linear pot for display brightness.
bezels for the larger front panel LCD were plasma cut, again by Ravens' Way. the profile of the LCD was such that a two-tier bezel was the simplest way to mount the unit, with the power and control boards flush with the existing panel and the front glass flush with the bezel.
a DS18B20 temperature probe was fitted inside the cooling loop's reservoir, and the cable run out to the breadboard. the circuit there is very simple, where the only important part is a 4.7k pullup resistor for the data line of the probe.
 |
 |
it's a little hard to photograph with the bad lighting, black finish and glossy display, but you get the idea.
 |
 |
 |
 |
for the network/software configuration of this stuff, have a look at this page.